Final Portrait Image

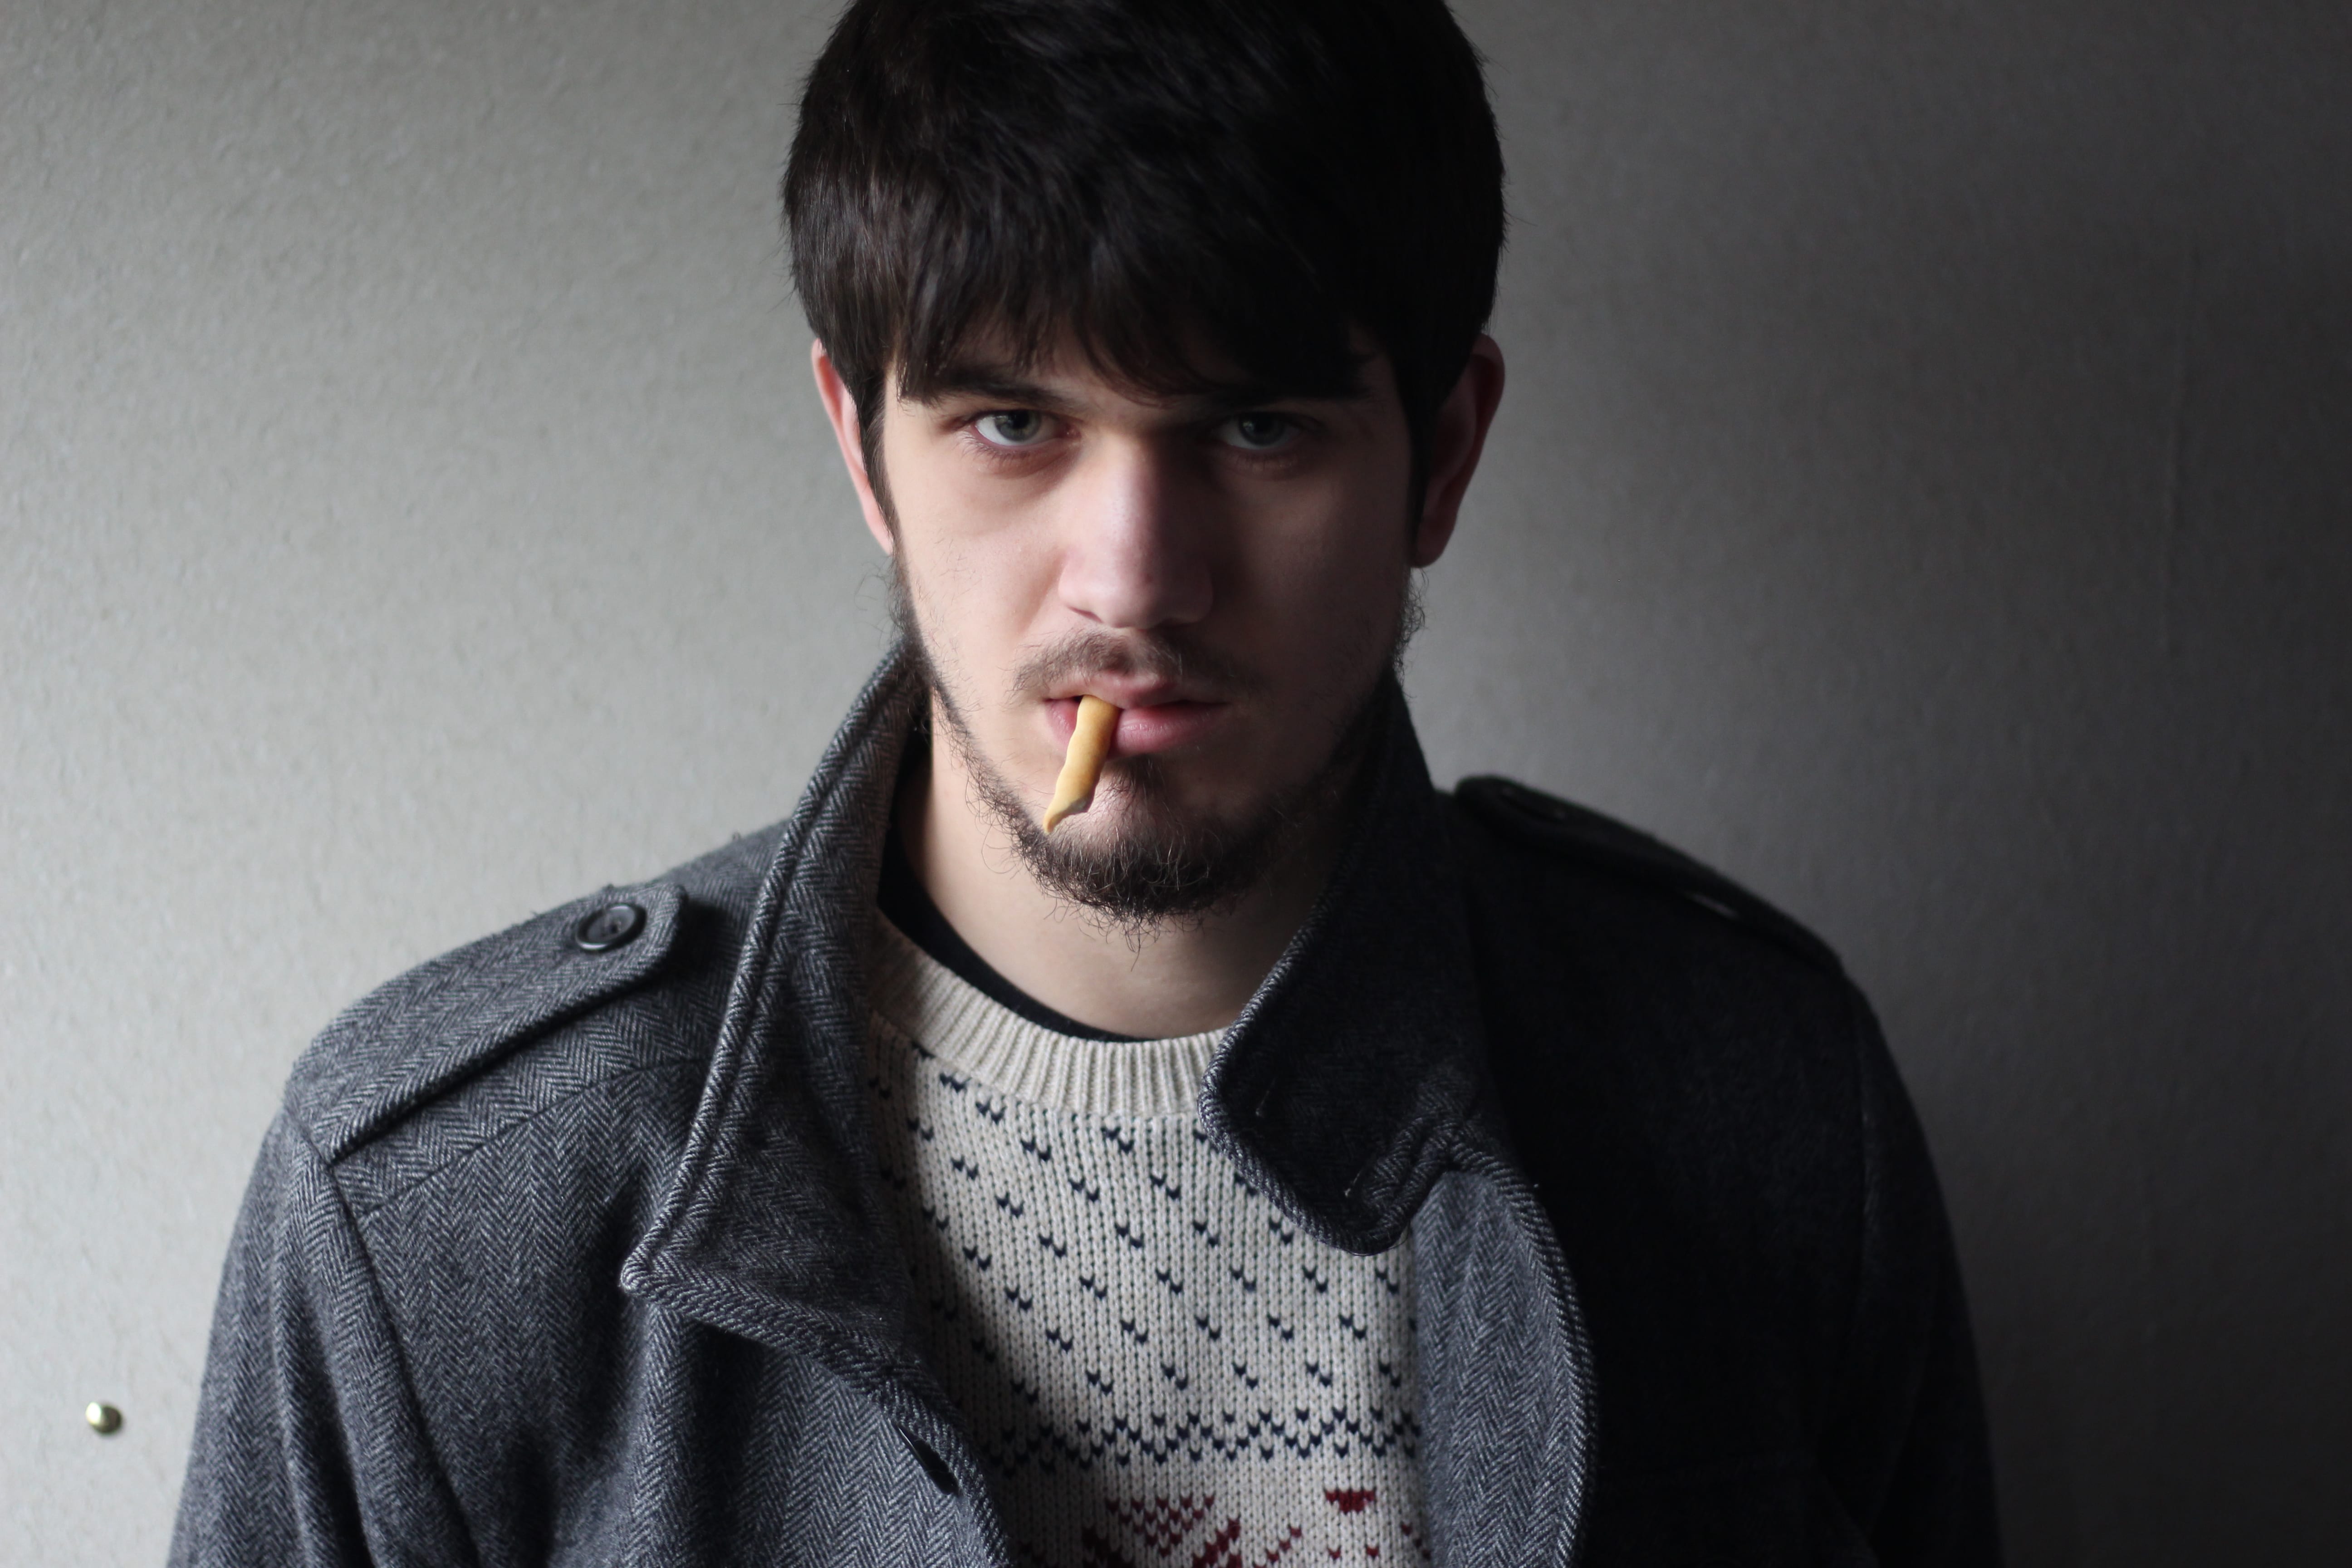
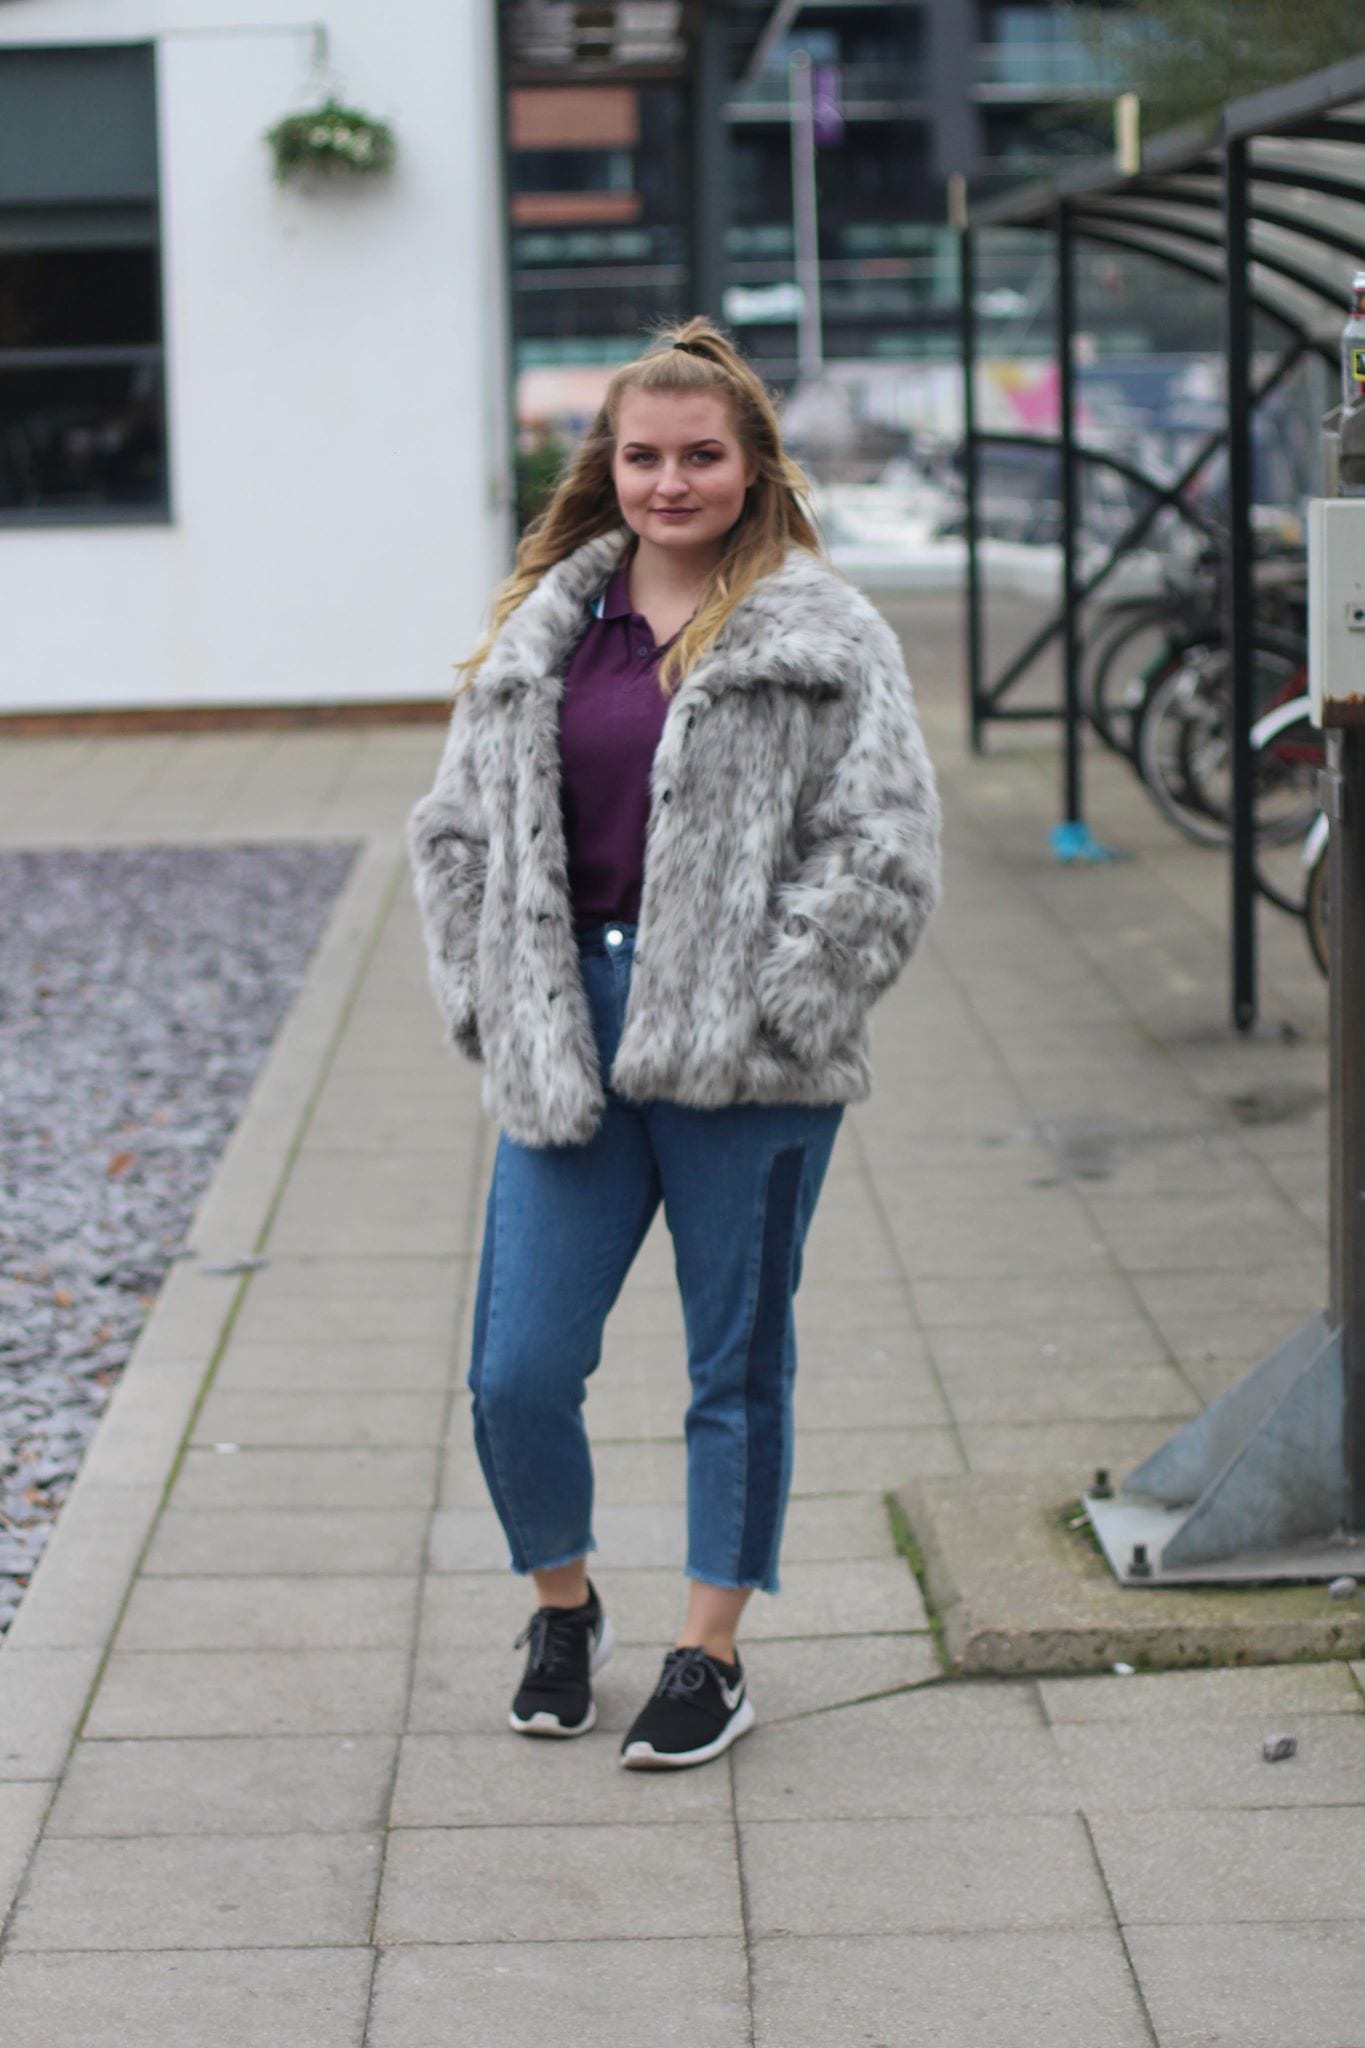
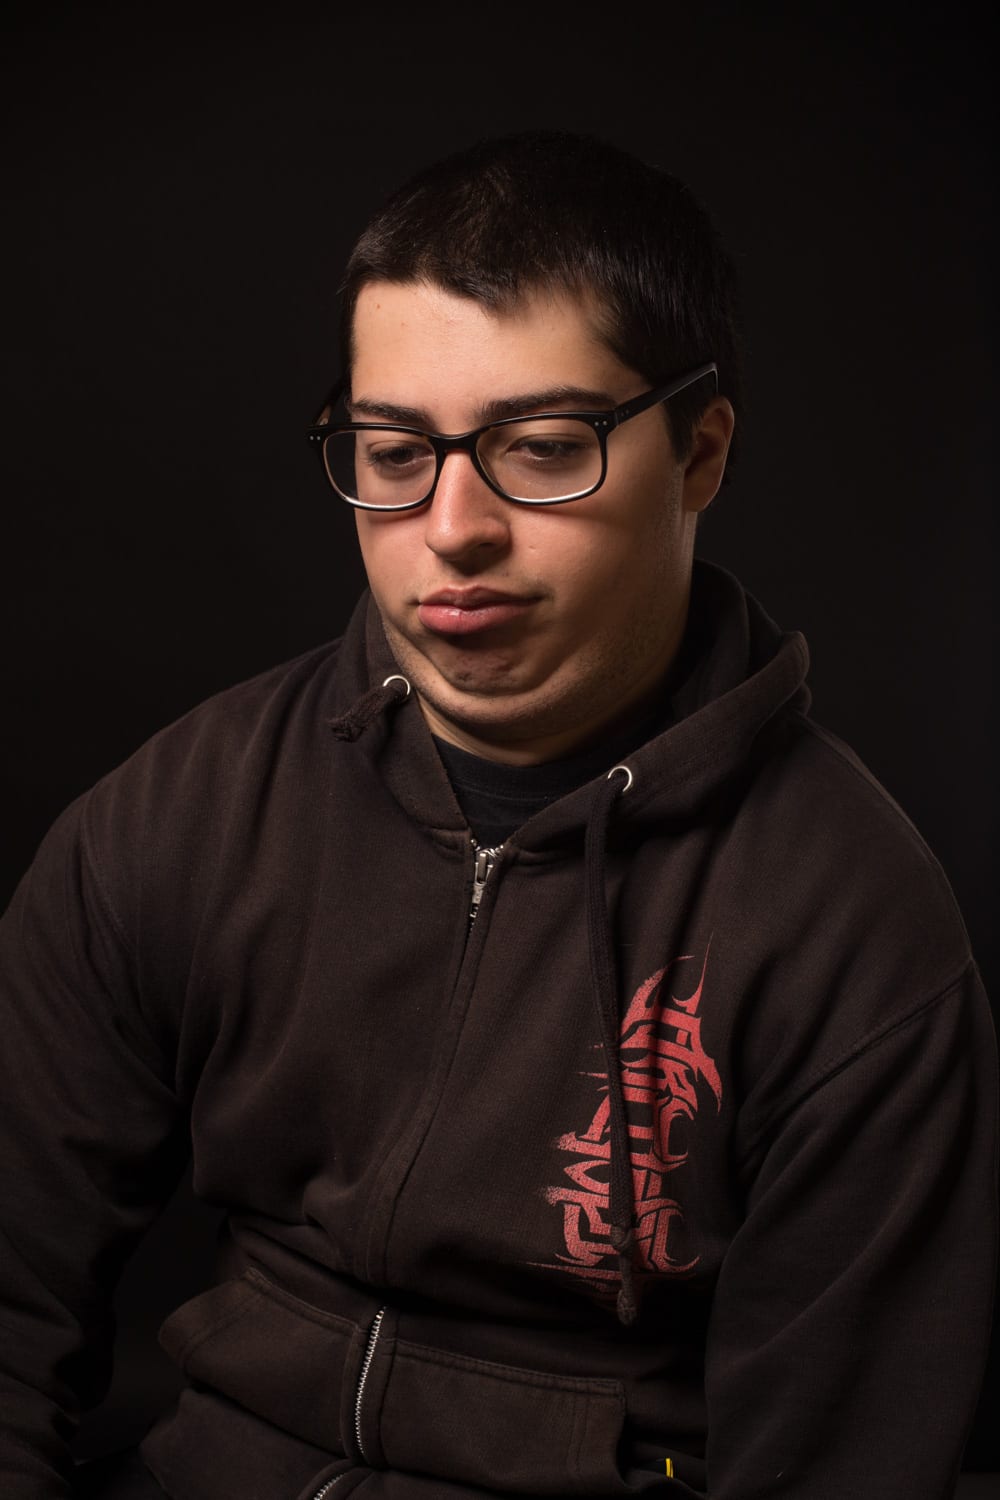
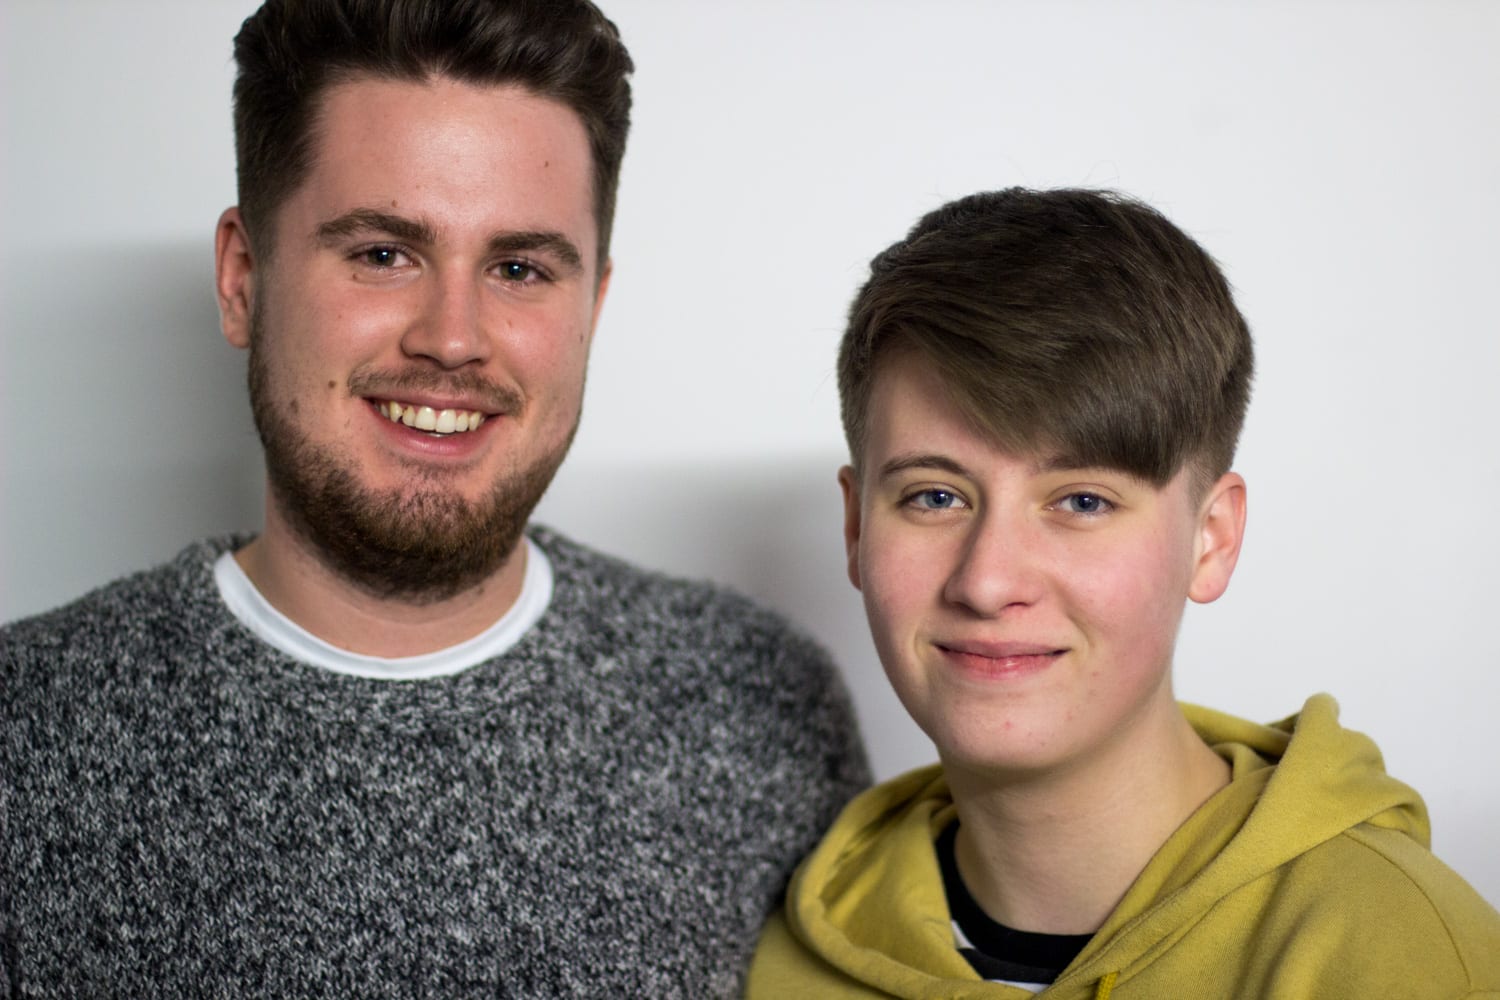
To get my portrait image of a stranger, I asked my flatmate to speak to her friends and find out if they would like to have some portrait photos taken. They said yes so I ended up taking photos of Hannah and Lewis, my flatmate’s friends.

Taking photos of them proved rather difficult, because I said that I would send them the images for their own use afterwards, so they kept moving to see the photo after every one, and this meant I had to keep re-adjusting the focus. If I were to do this again I would make sure I told them to stay in the same spot and let them know they could view the photos at the end.

Before my photoshoot, I did a little bit of research into existing photographers, and the following images are ones that I liked and wanted to take aspects from:

Wie Andreas Jorns Bilder bearbeitet

Andreas Jorns: This photograph was taken by Andreas Jorns, and it features Rembrandt style lighting, however the ‘triangle’ of light on the left side of the face isn’t really a triangle, however, I still like the image and think this is quite re-creatable. The image its self, while being in focus, seems quite soft, and I think this is due to the short tonal range.

Screen Shot 2017-12-02 at 15.34.50

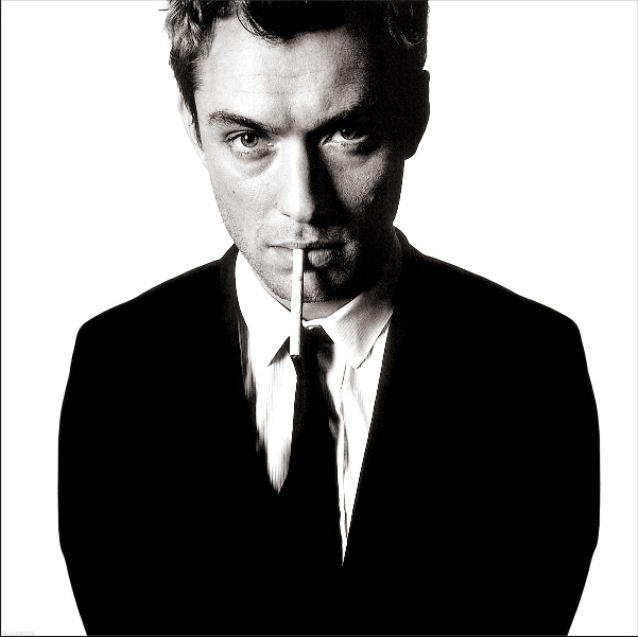
David Bailey: This photograph was taken by David Bailey and it also uses the Rembrandt lighting technique. This photo has quite a high contrast and I’m not sure this is something I would be able to recreate easily (although we managed something similar in our workshop- see my previous post).

Pyongwman1632 rembrandt-9455125-2-402

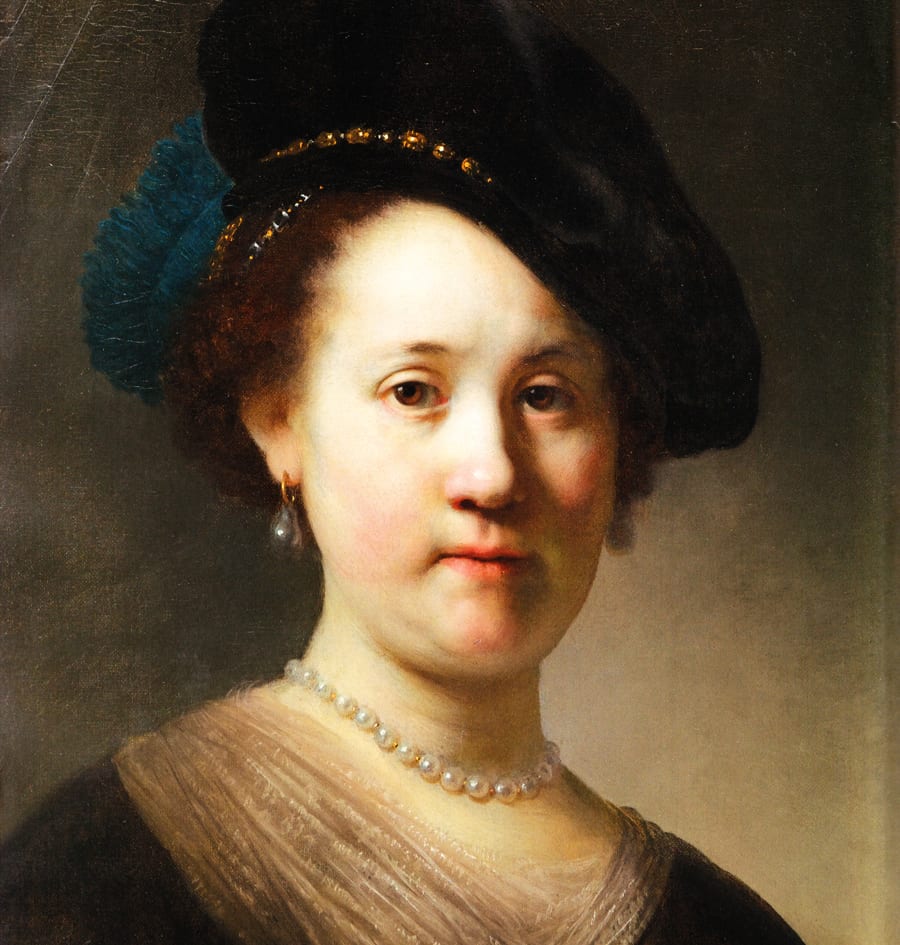
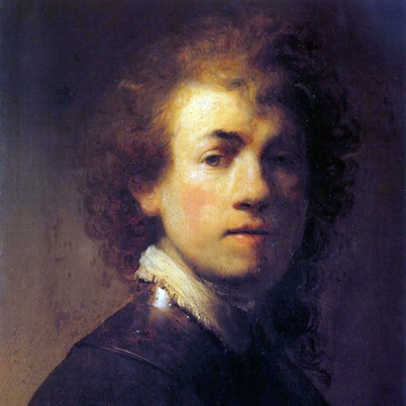
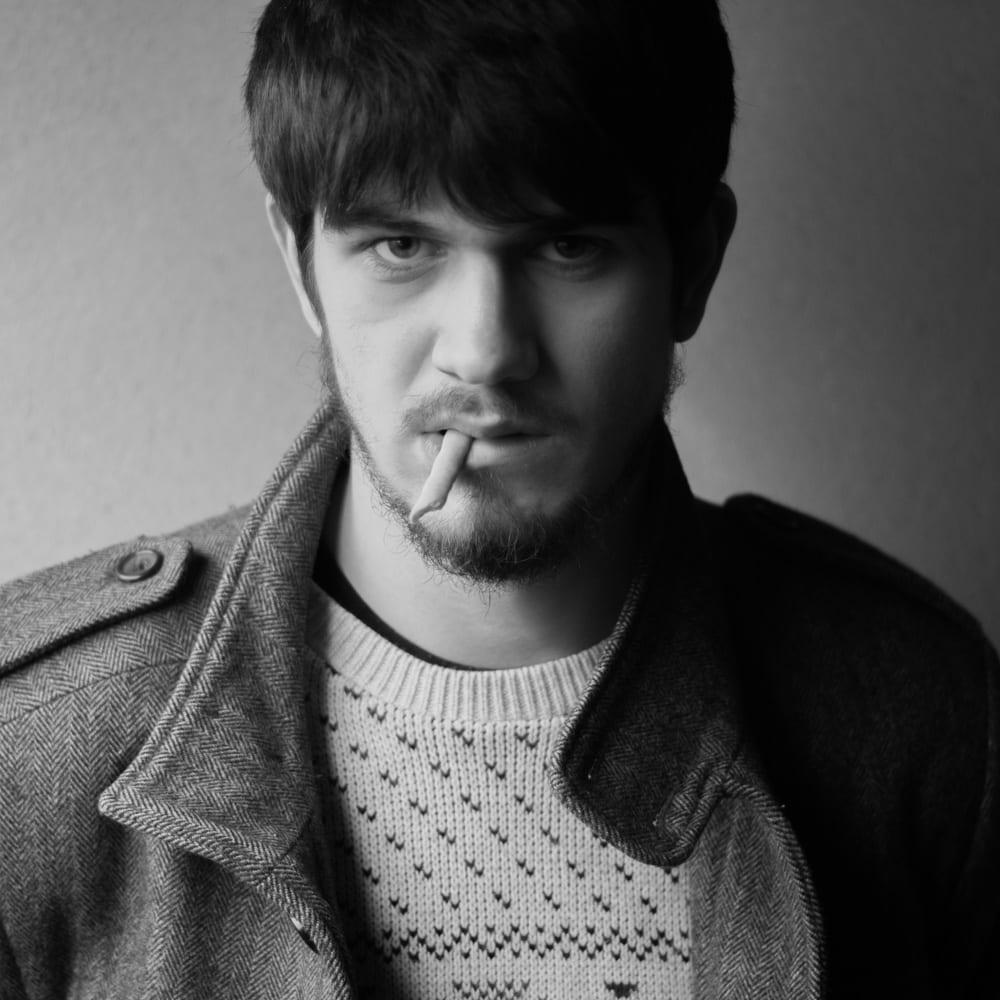
Rembrandt Harmenszoon van Rijn: After hearing the term ‘Rembrandt lighting’ and finding examples of it in lots of images, I decided to actually find out who this Rembrandt guy was. From my research, I found out that he was a painter in the 1600s and often lit subjects from a 45-degree angle so that half of the face was illuminated, and the other half only had a small triangle illuminated. I tried to recreate something along these lines in my own photographs.

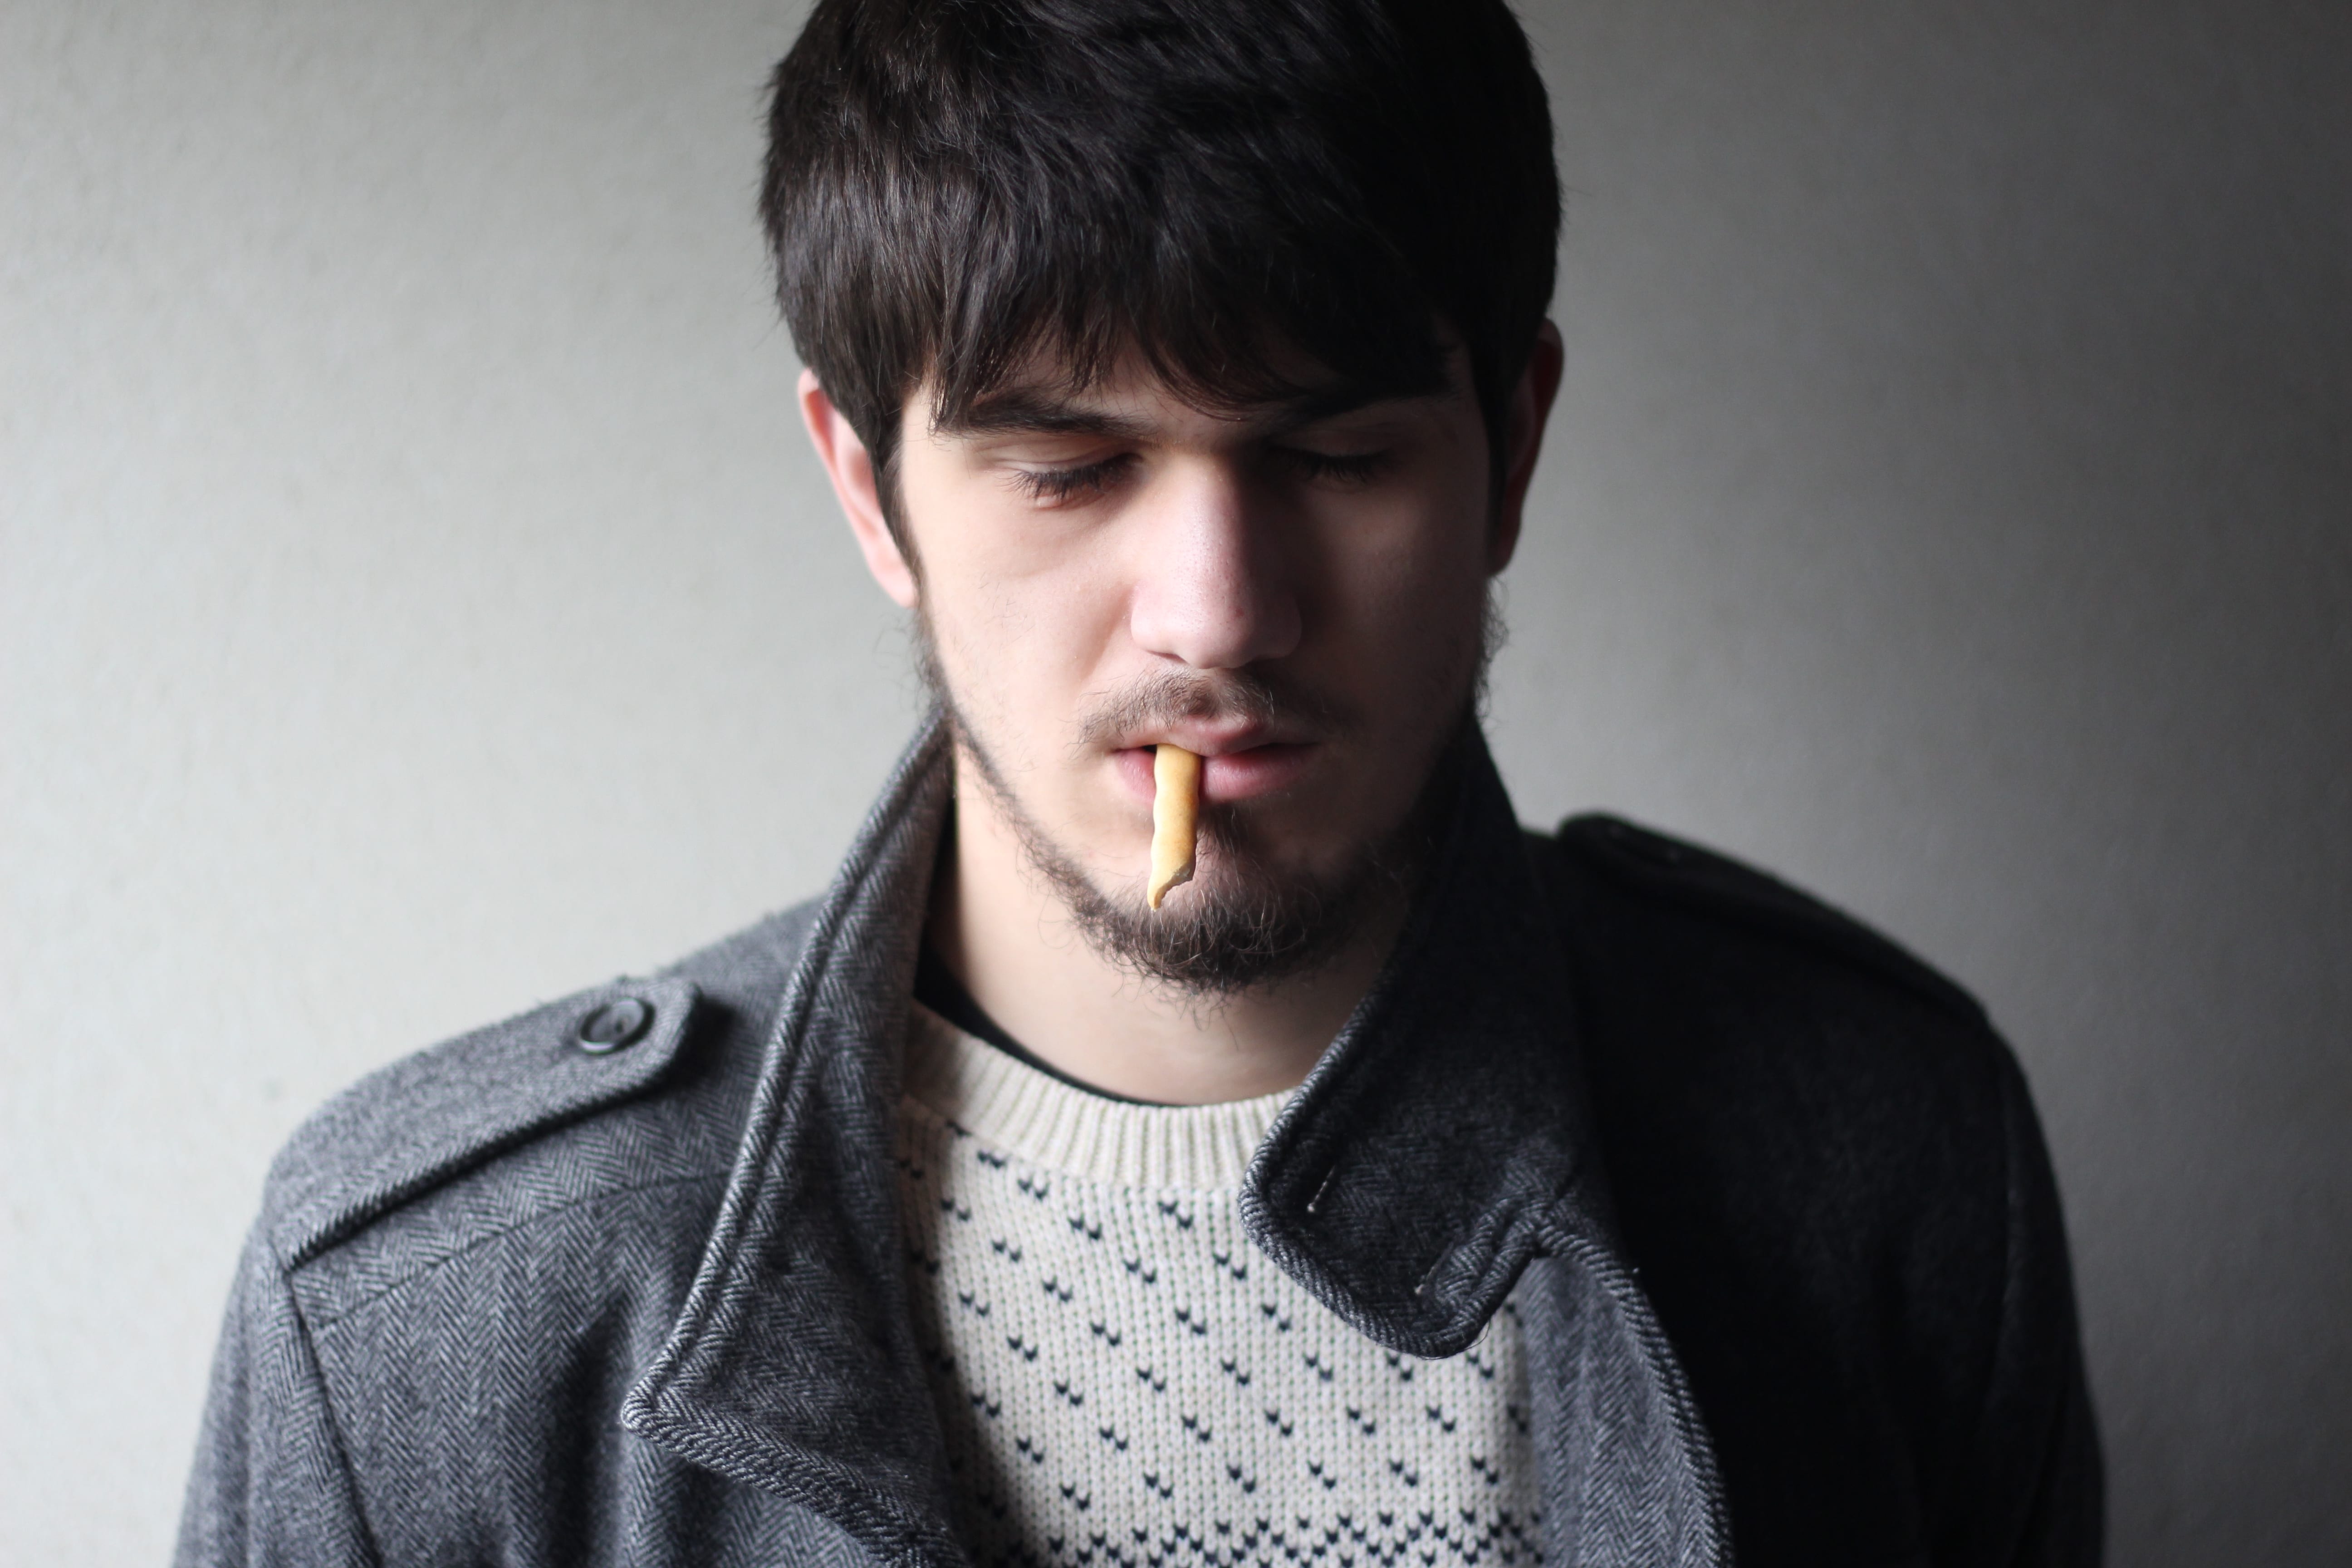
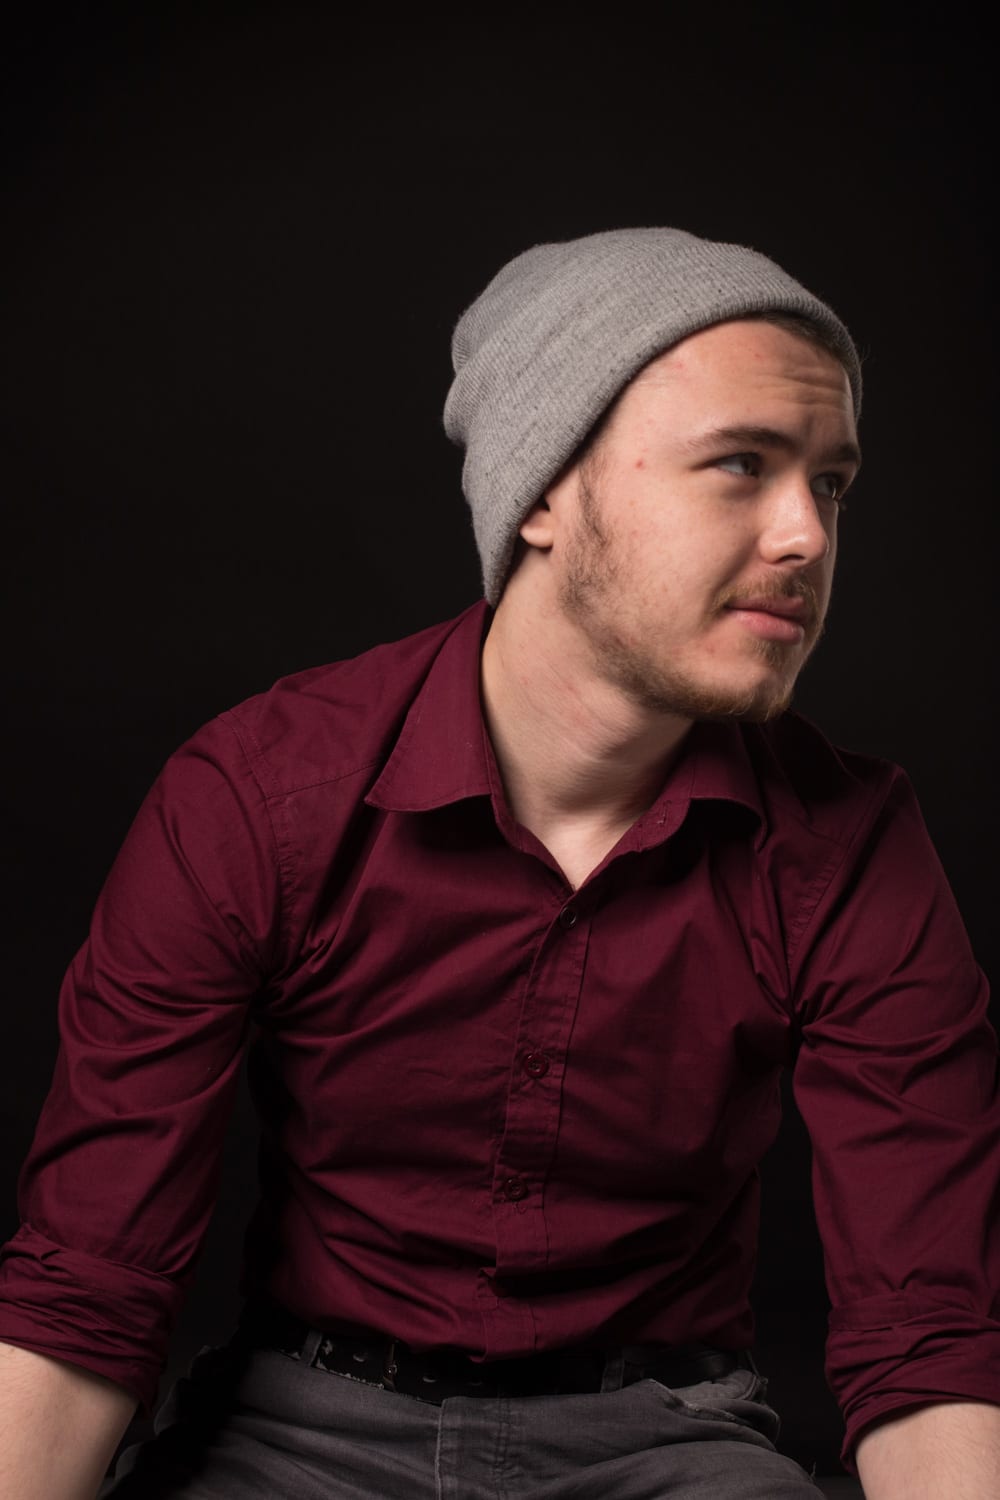
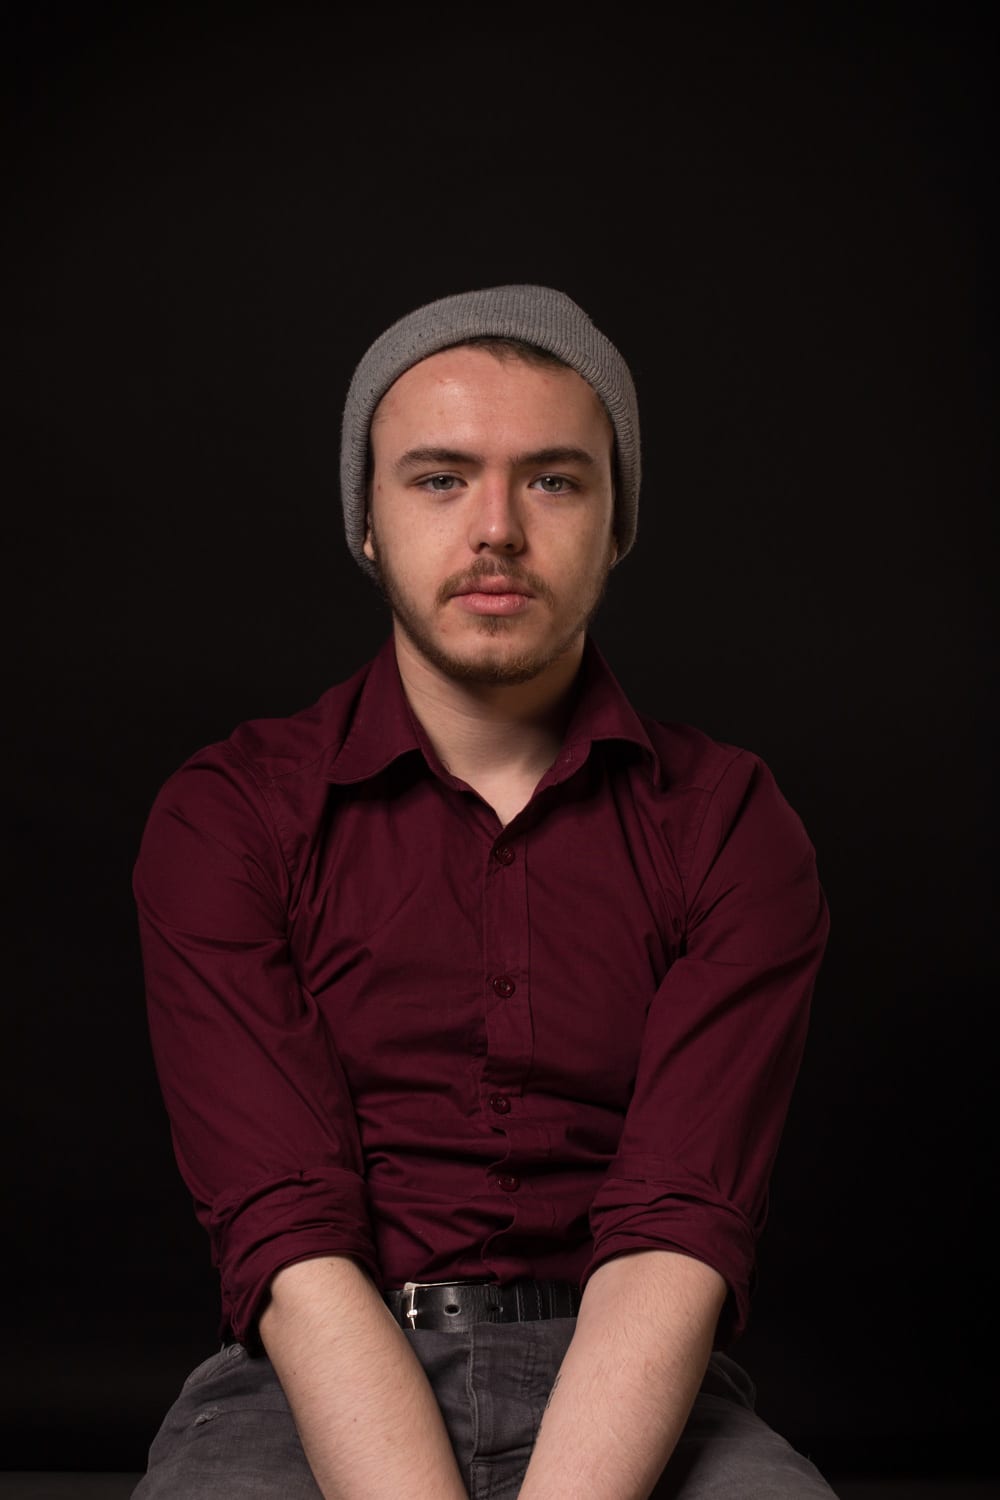
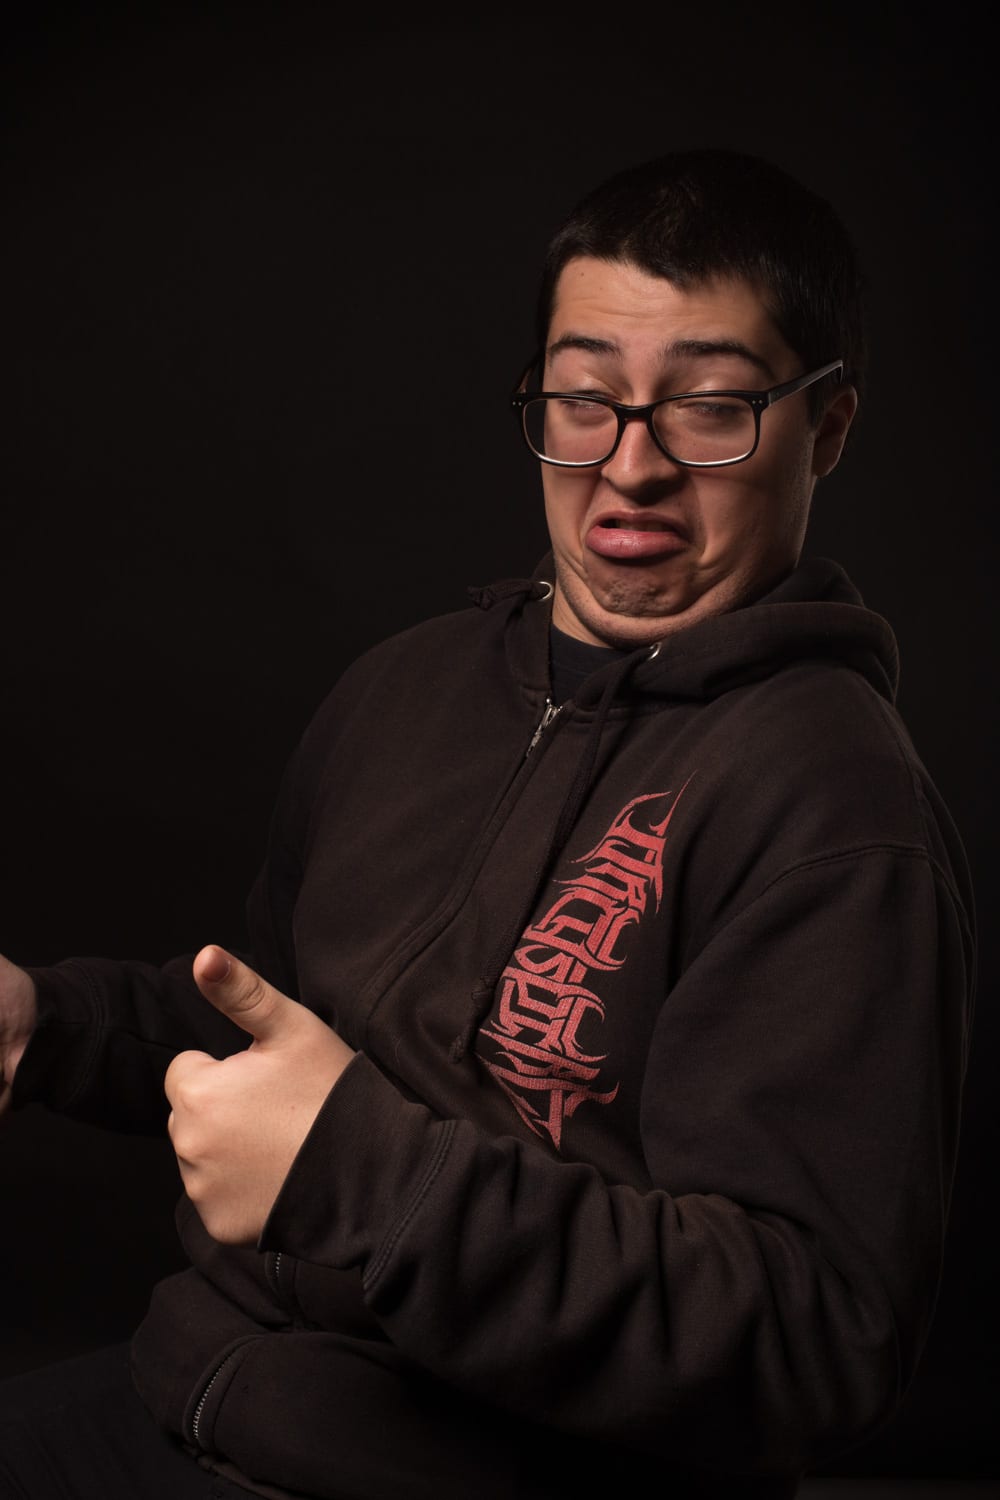
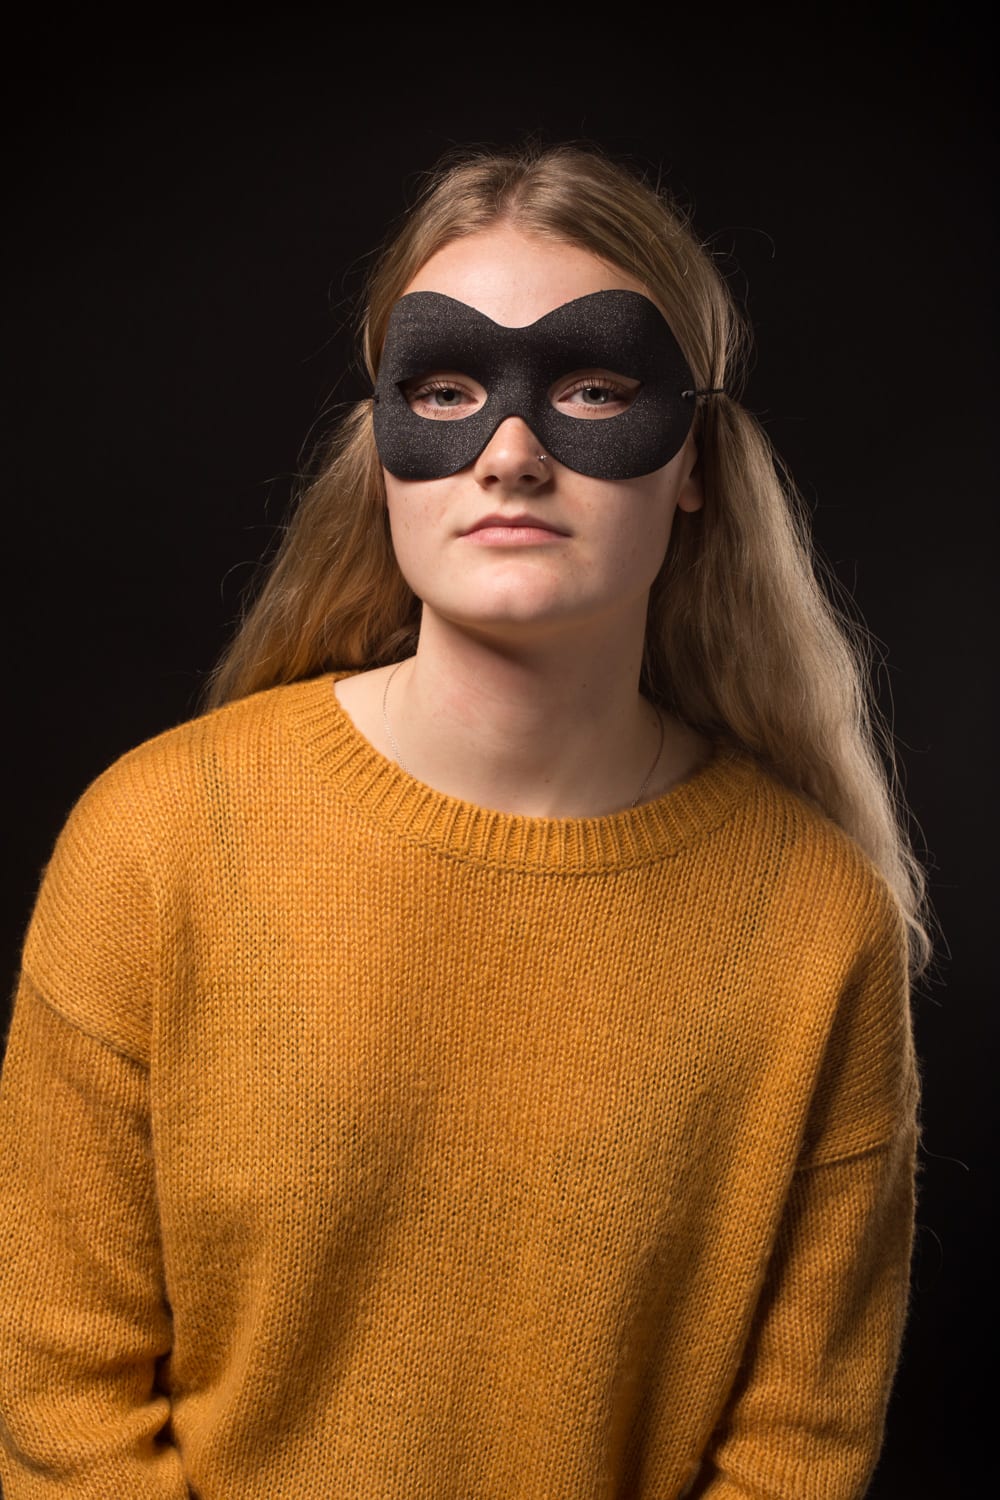
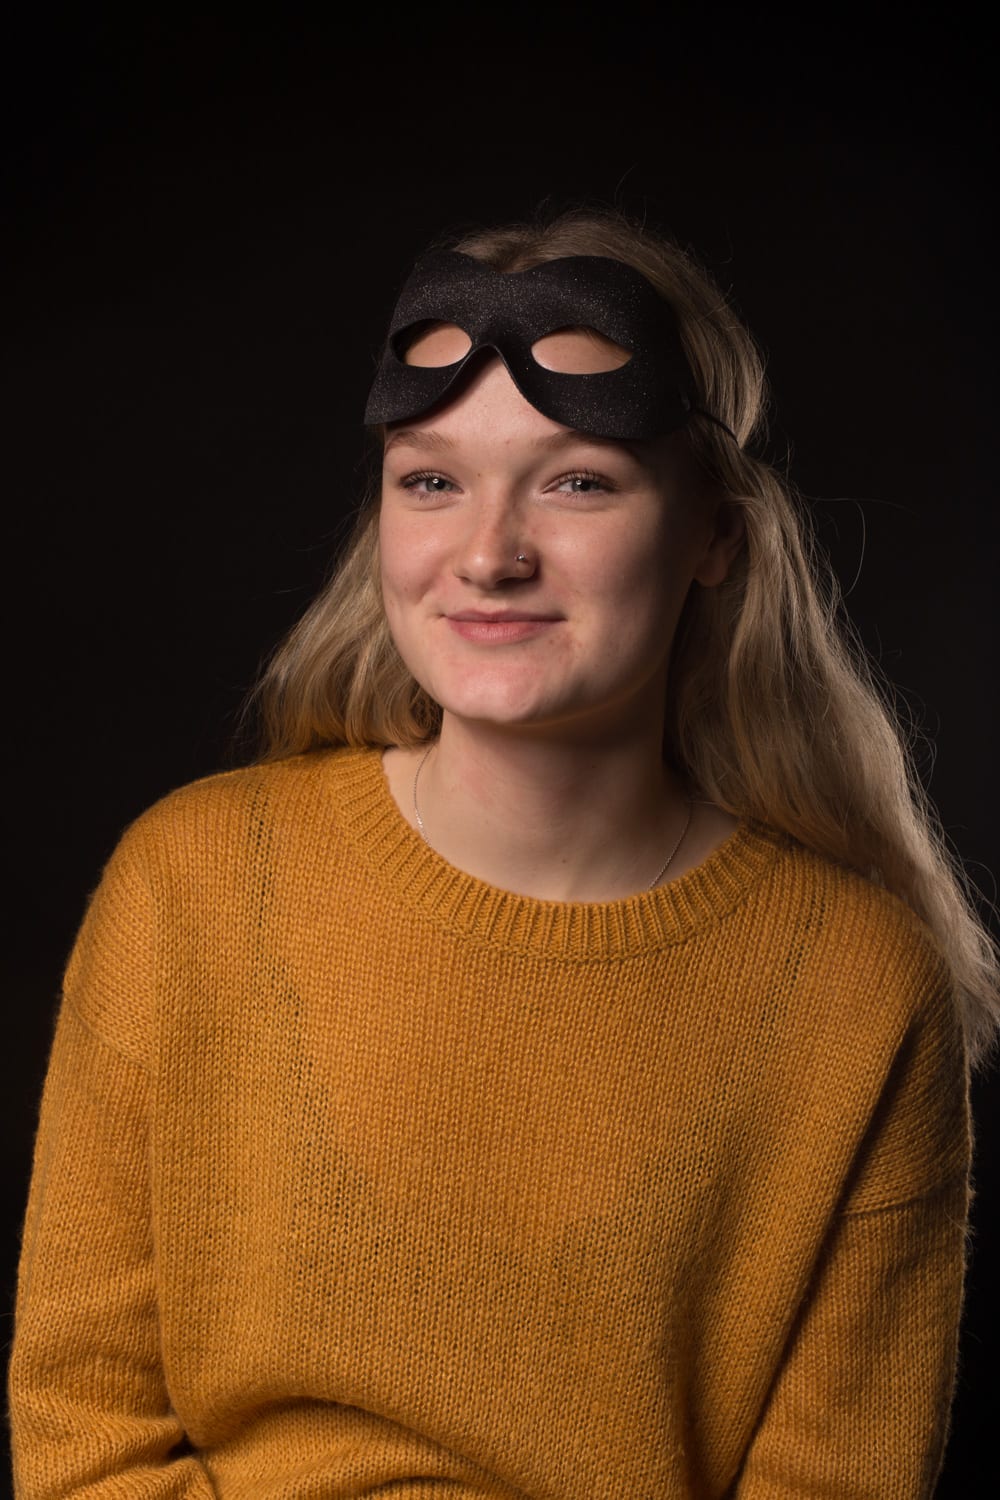
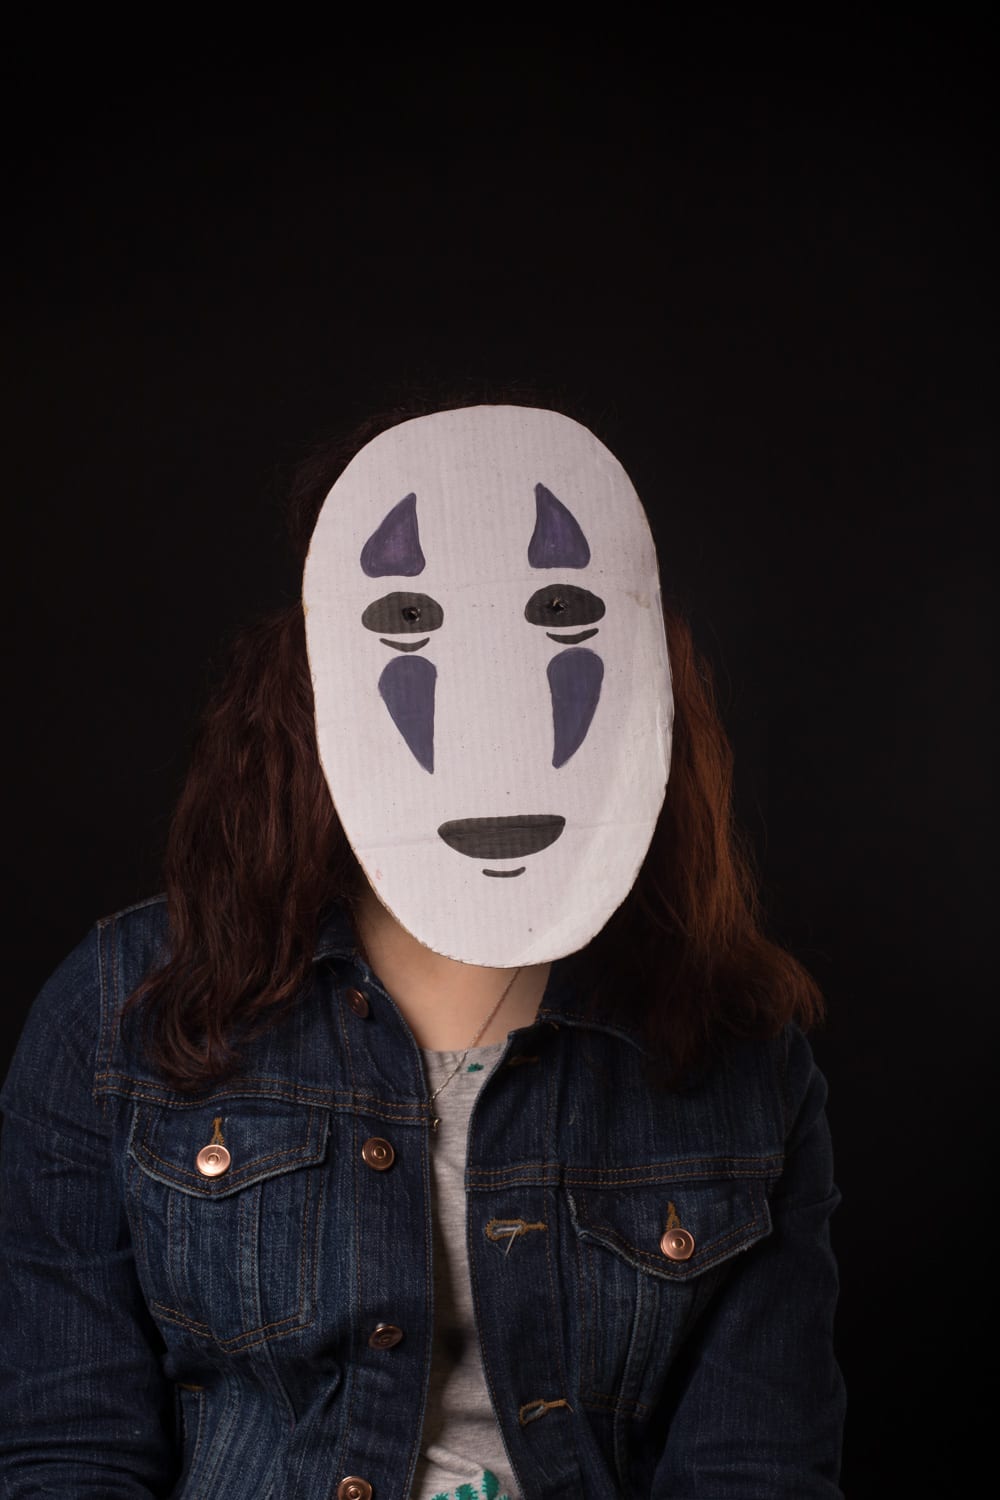
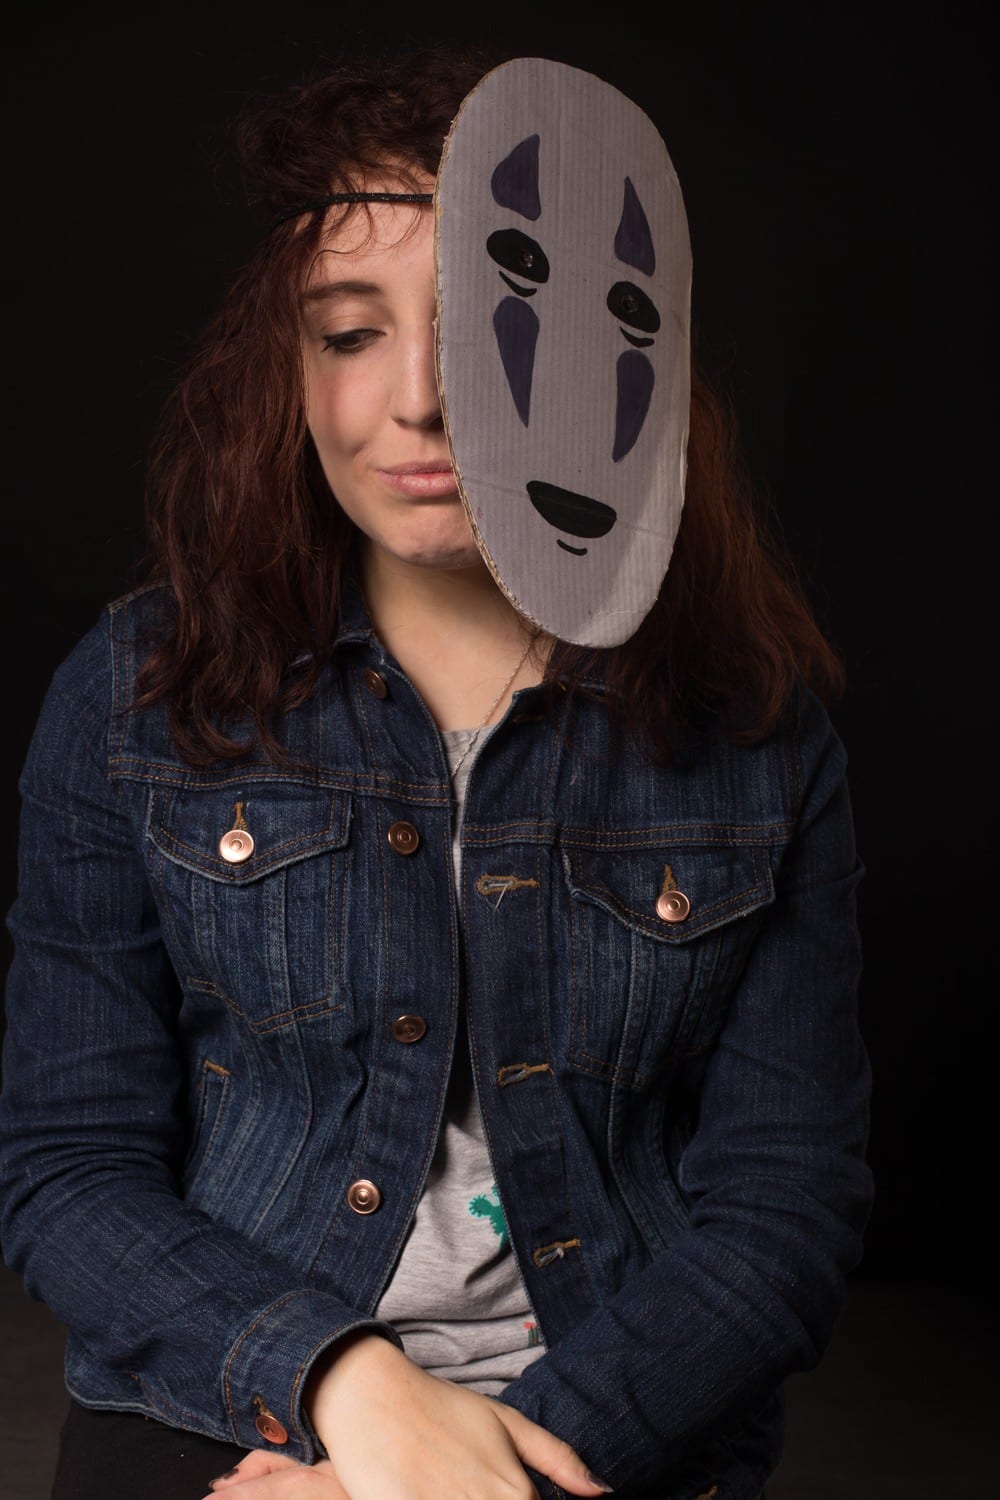
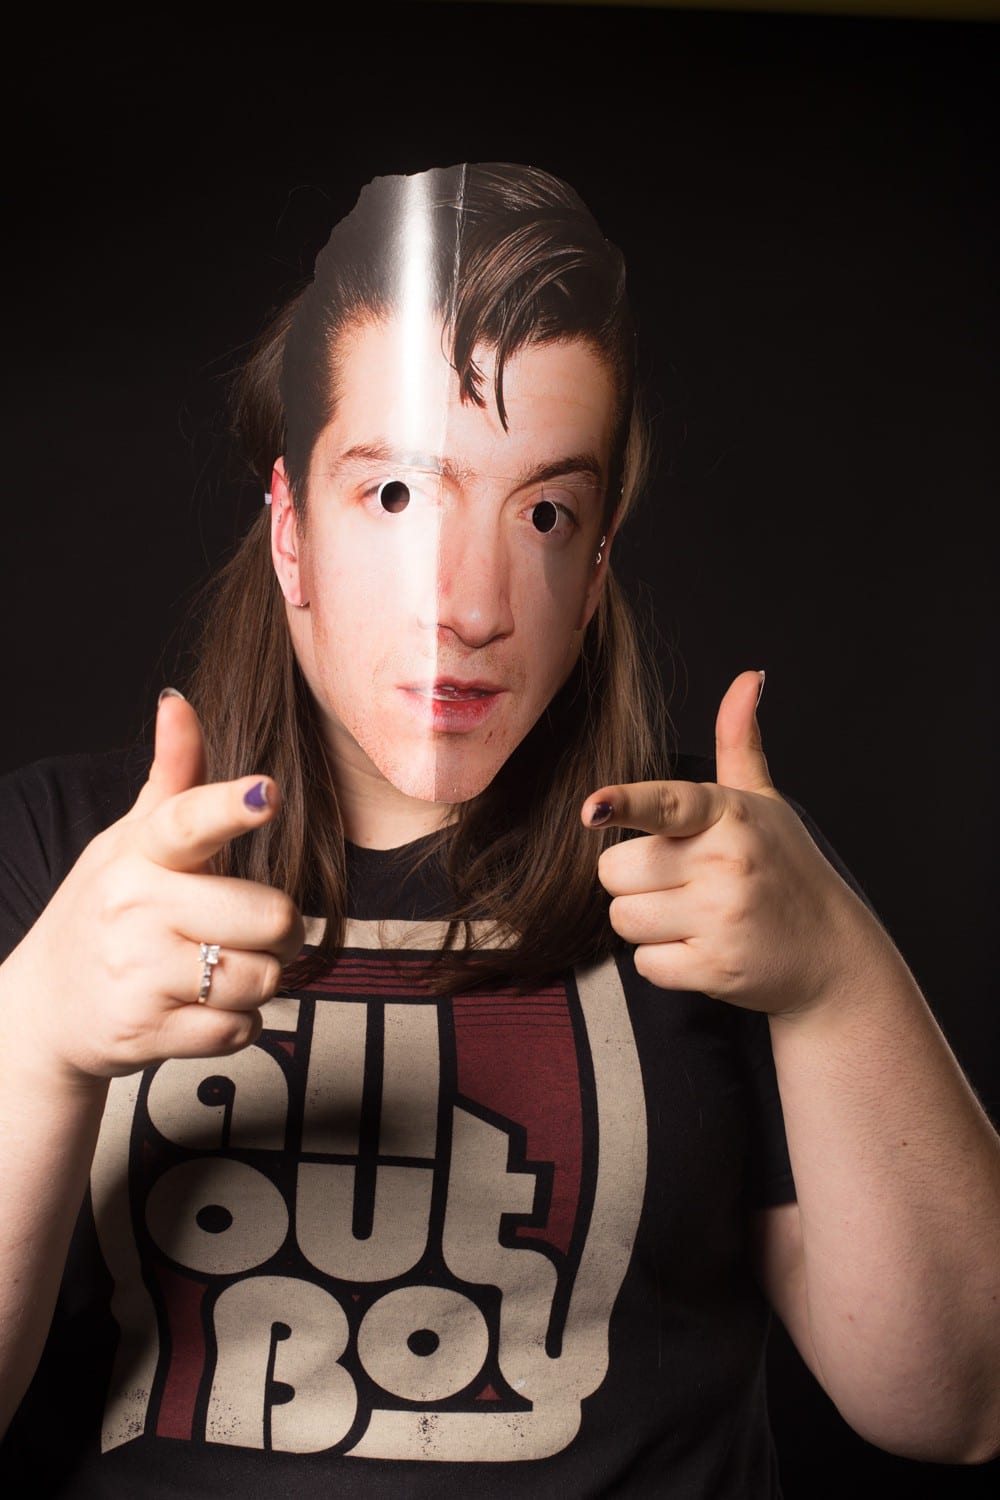
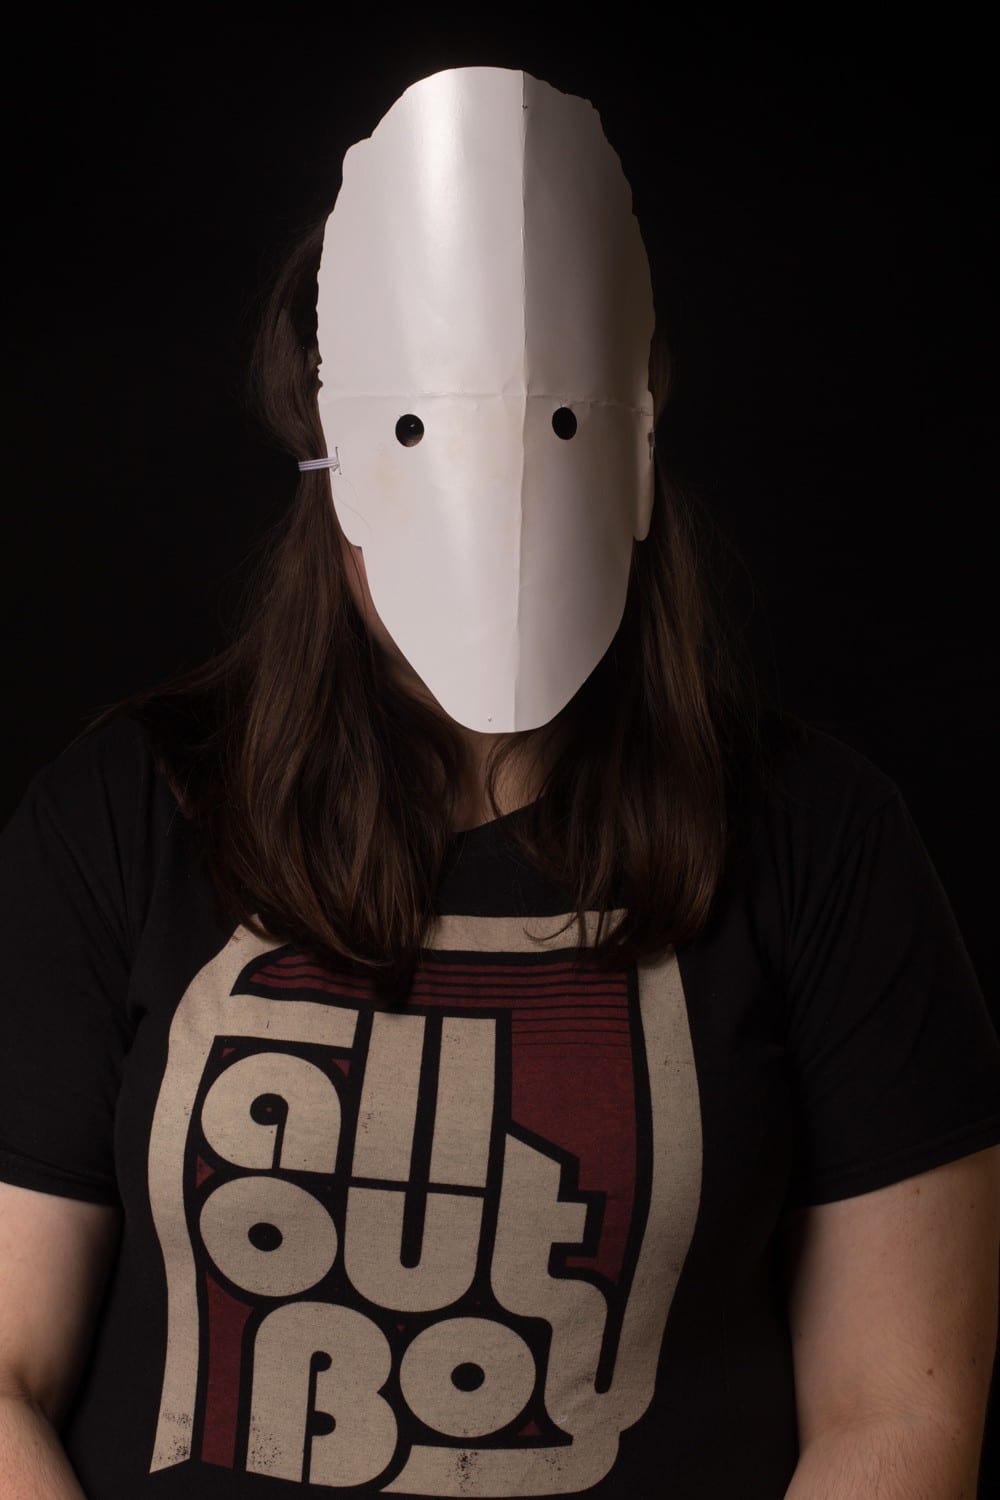
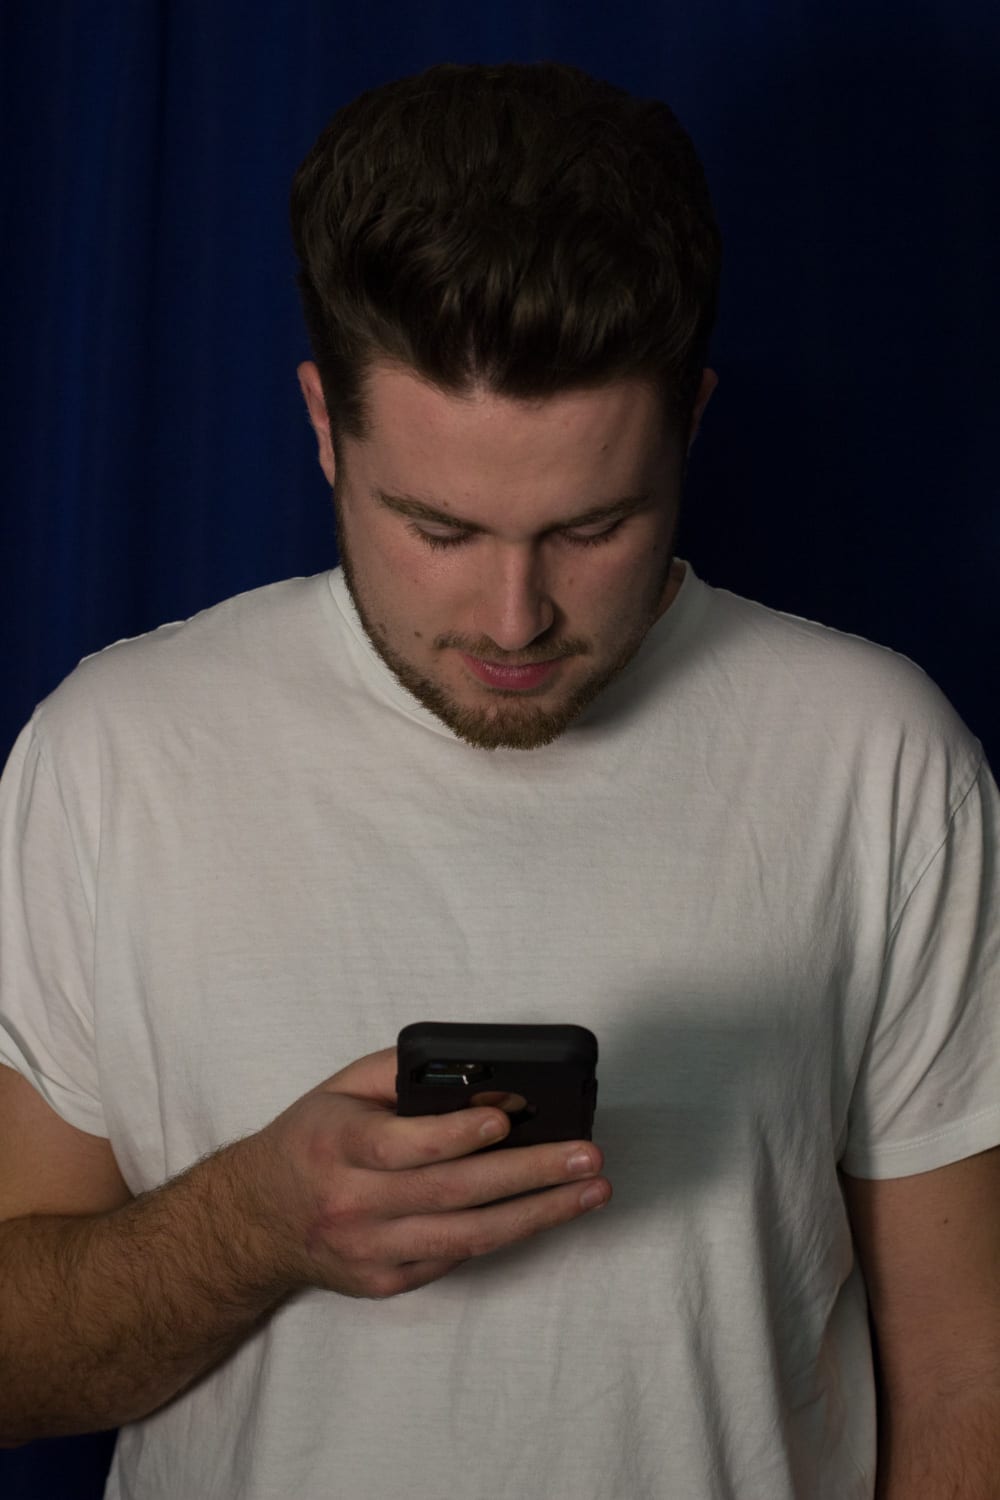
These are some of the photographs that came out of the photoshoot I did:


Edited-2 untitled-4

Edited-5 Edited-6 Edited-8

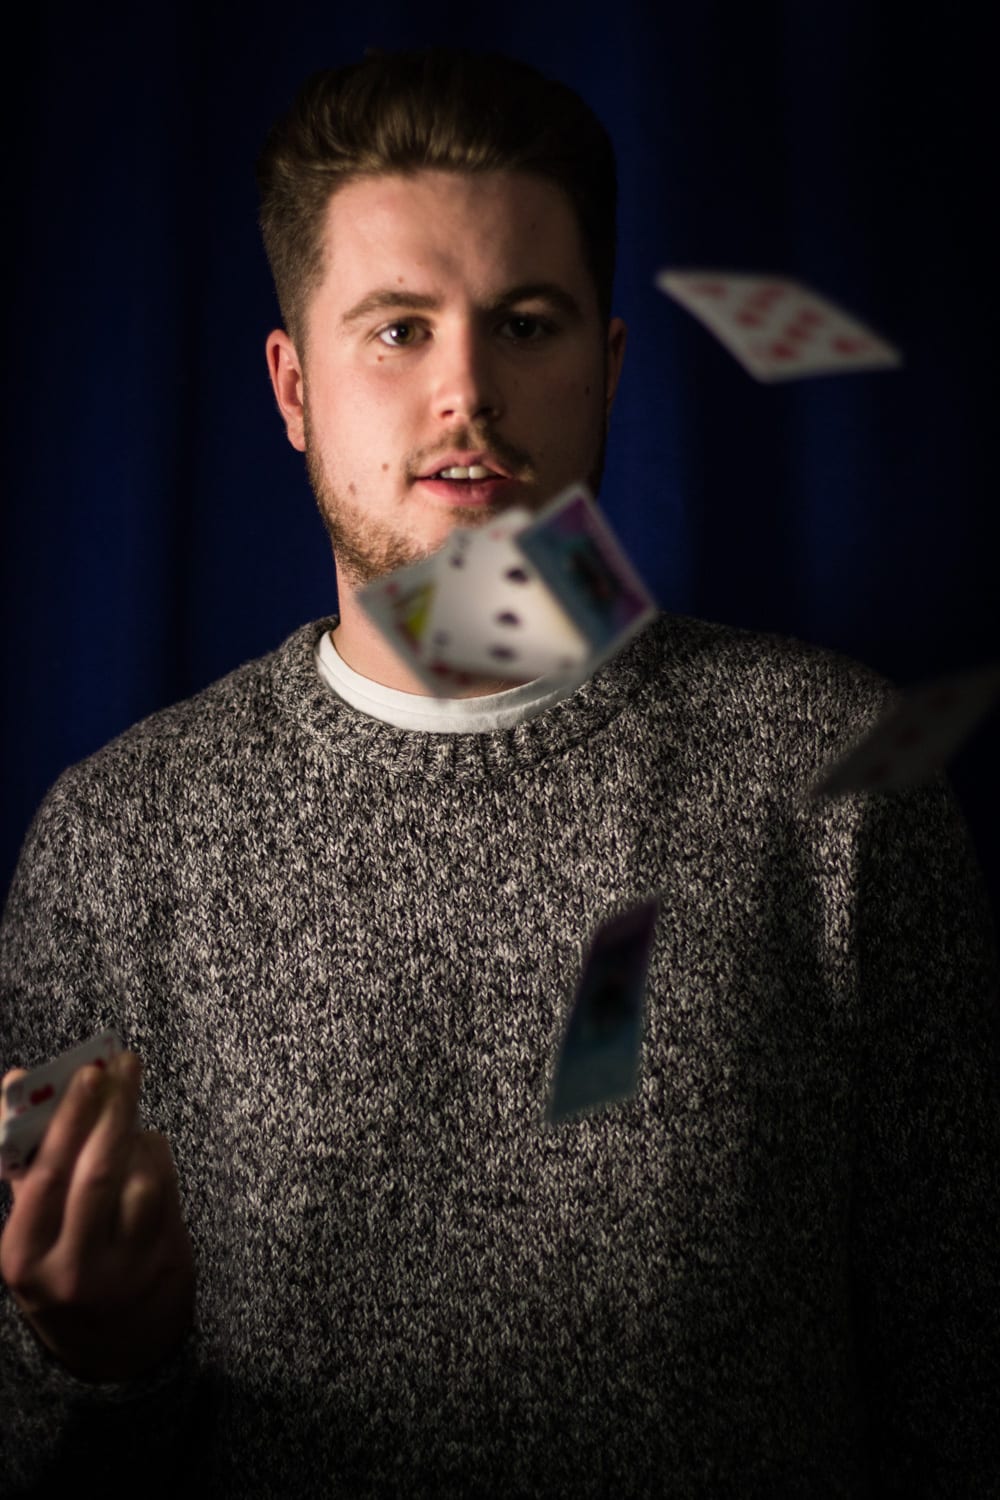
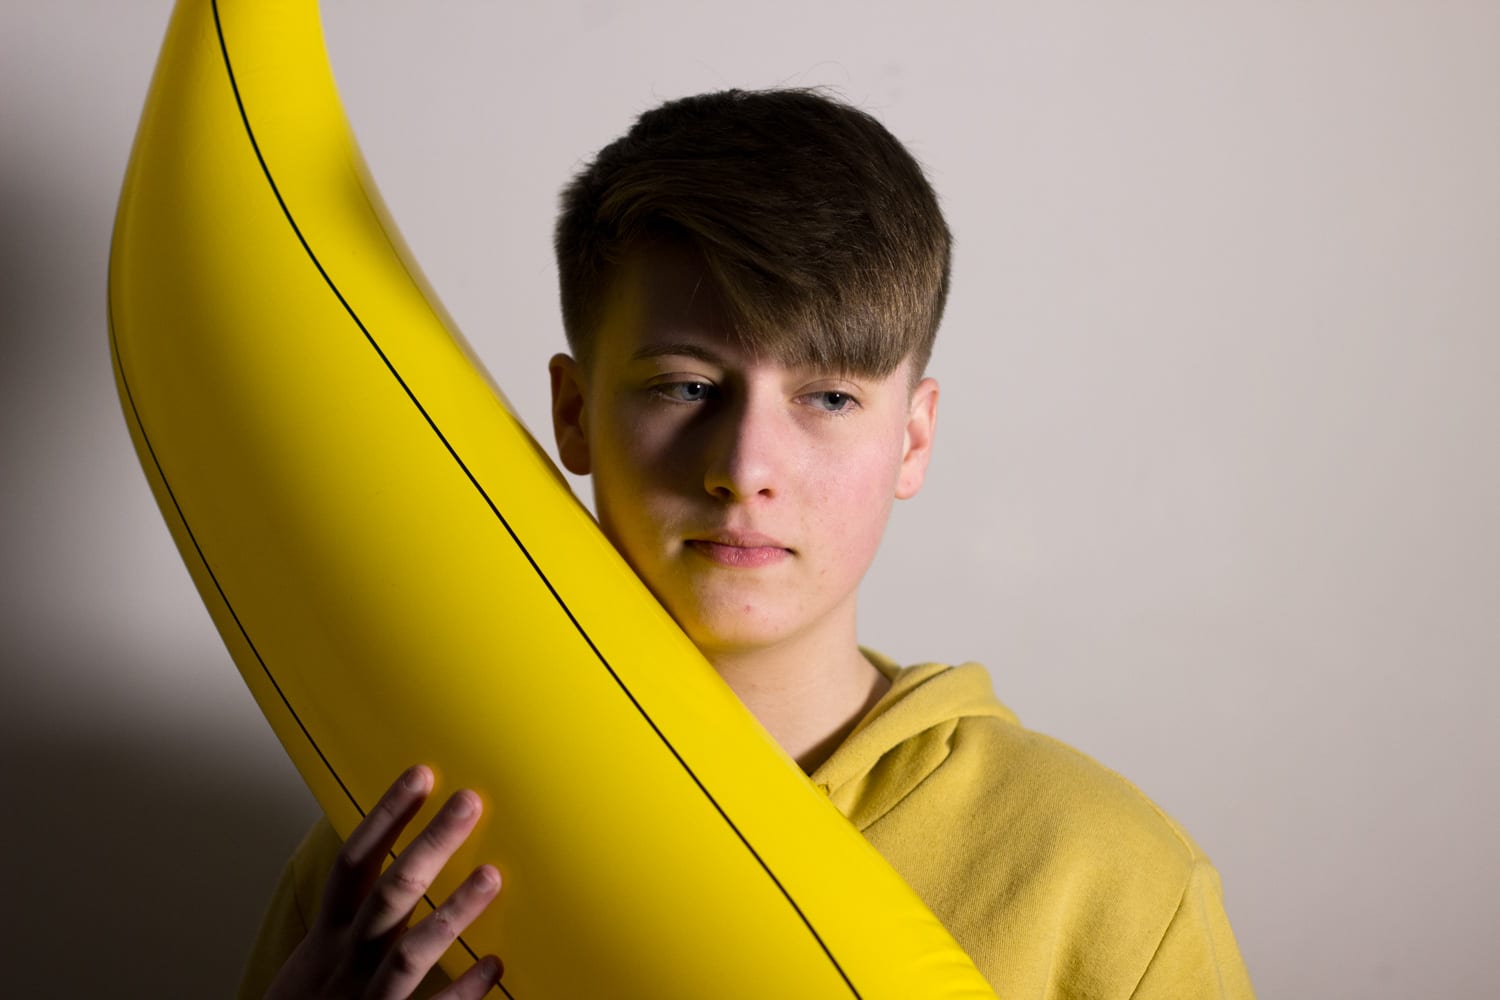
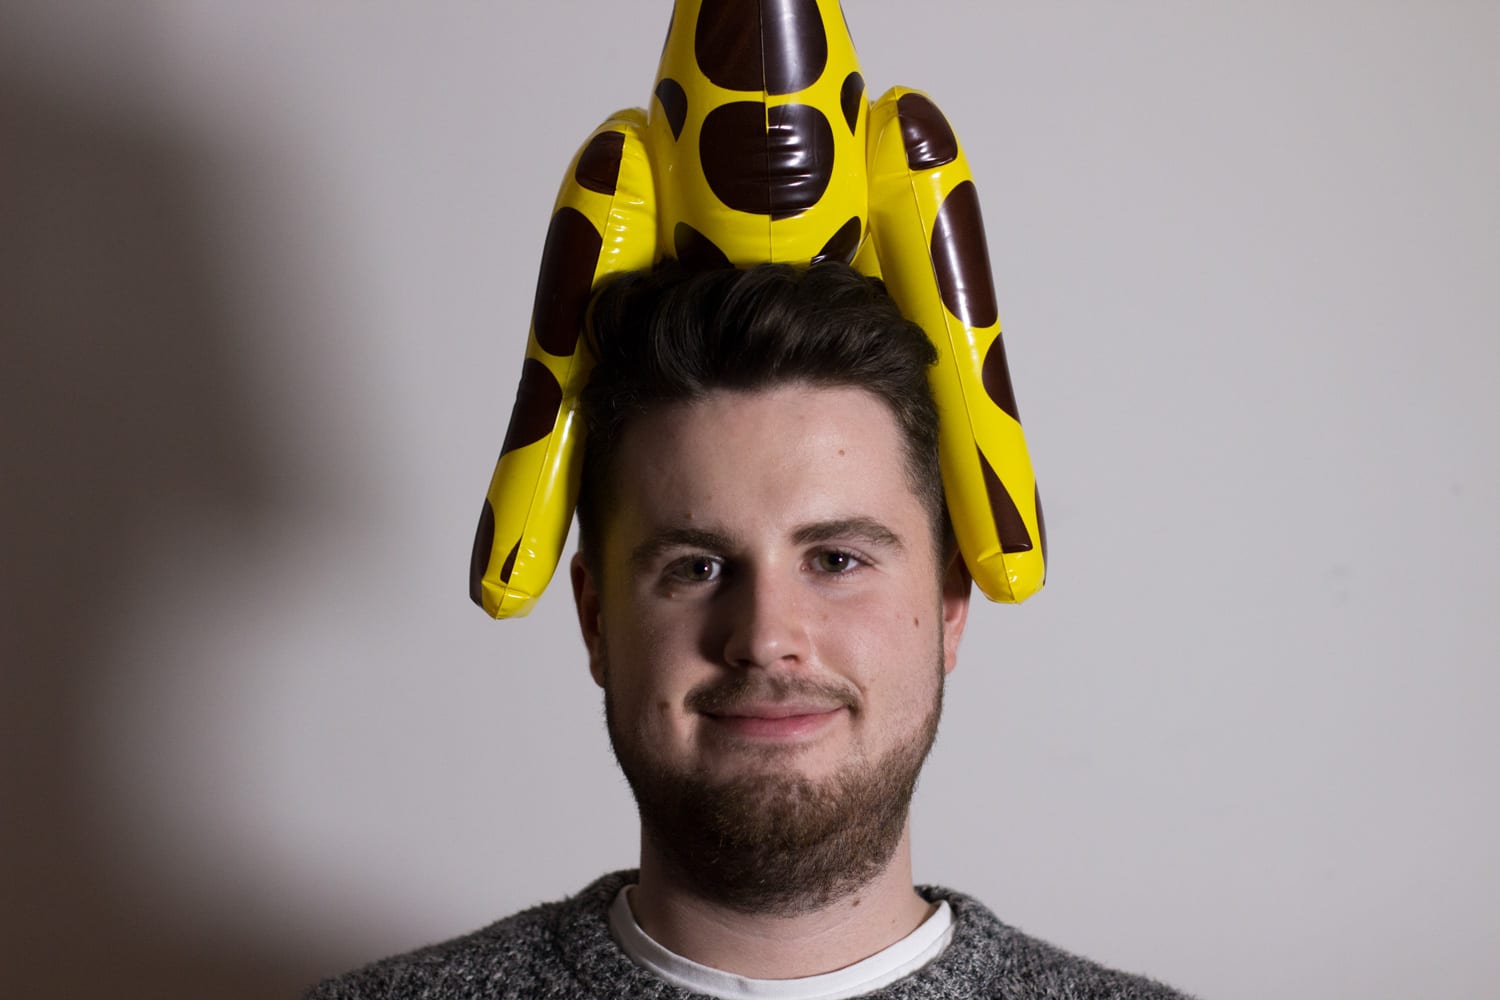
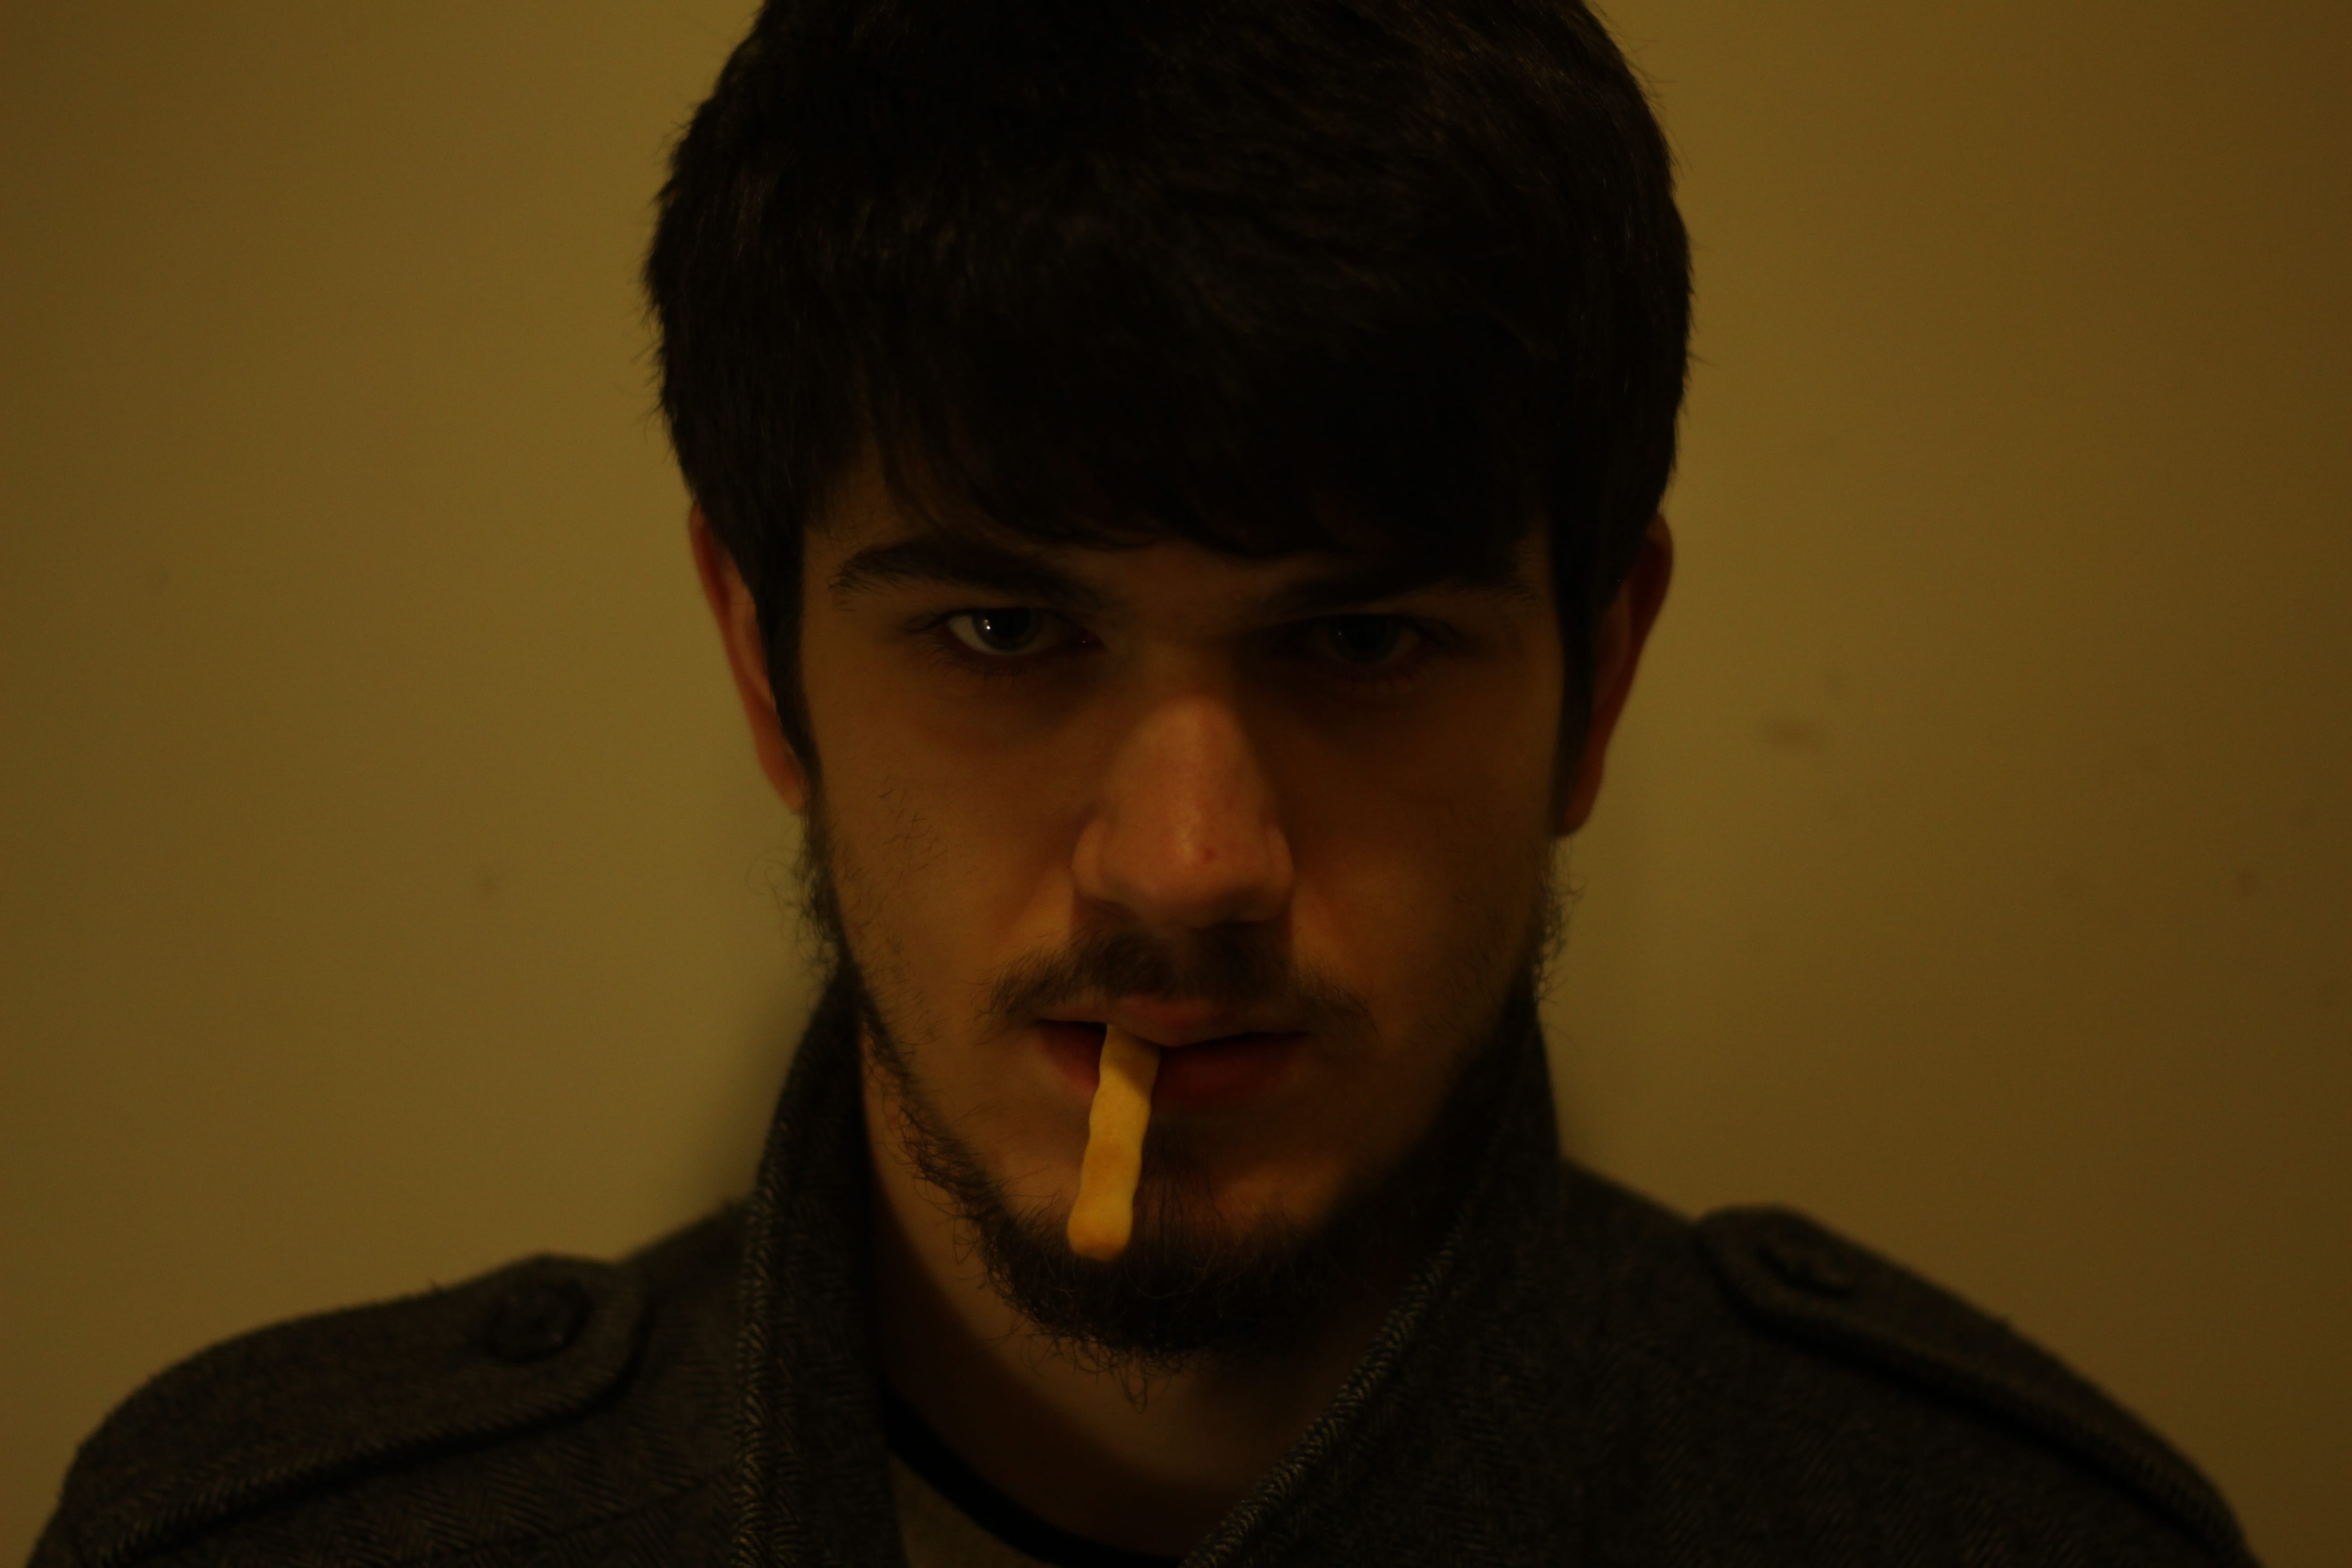
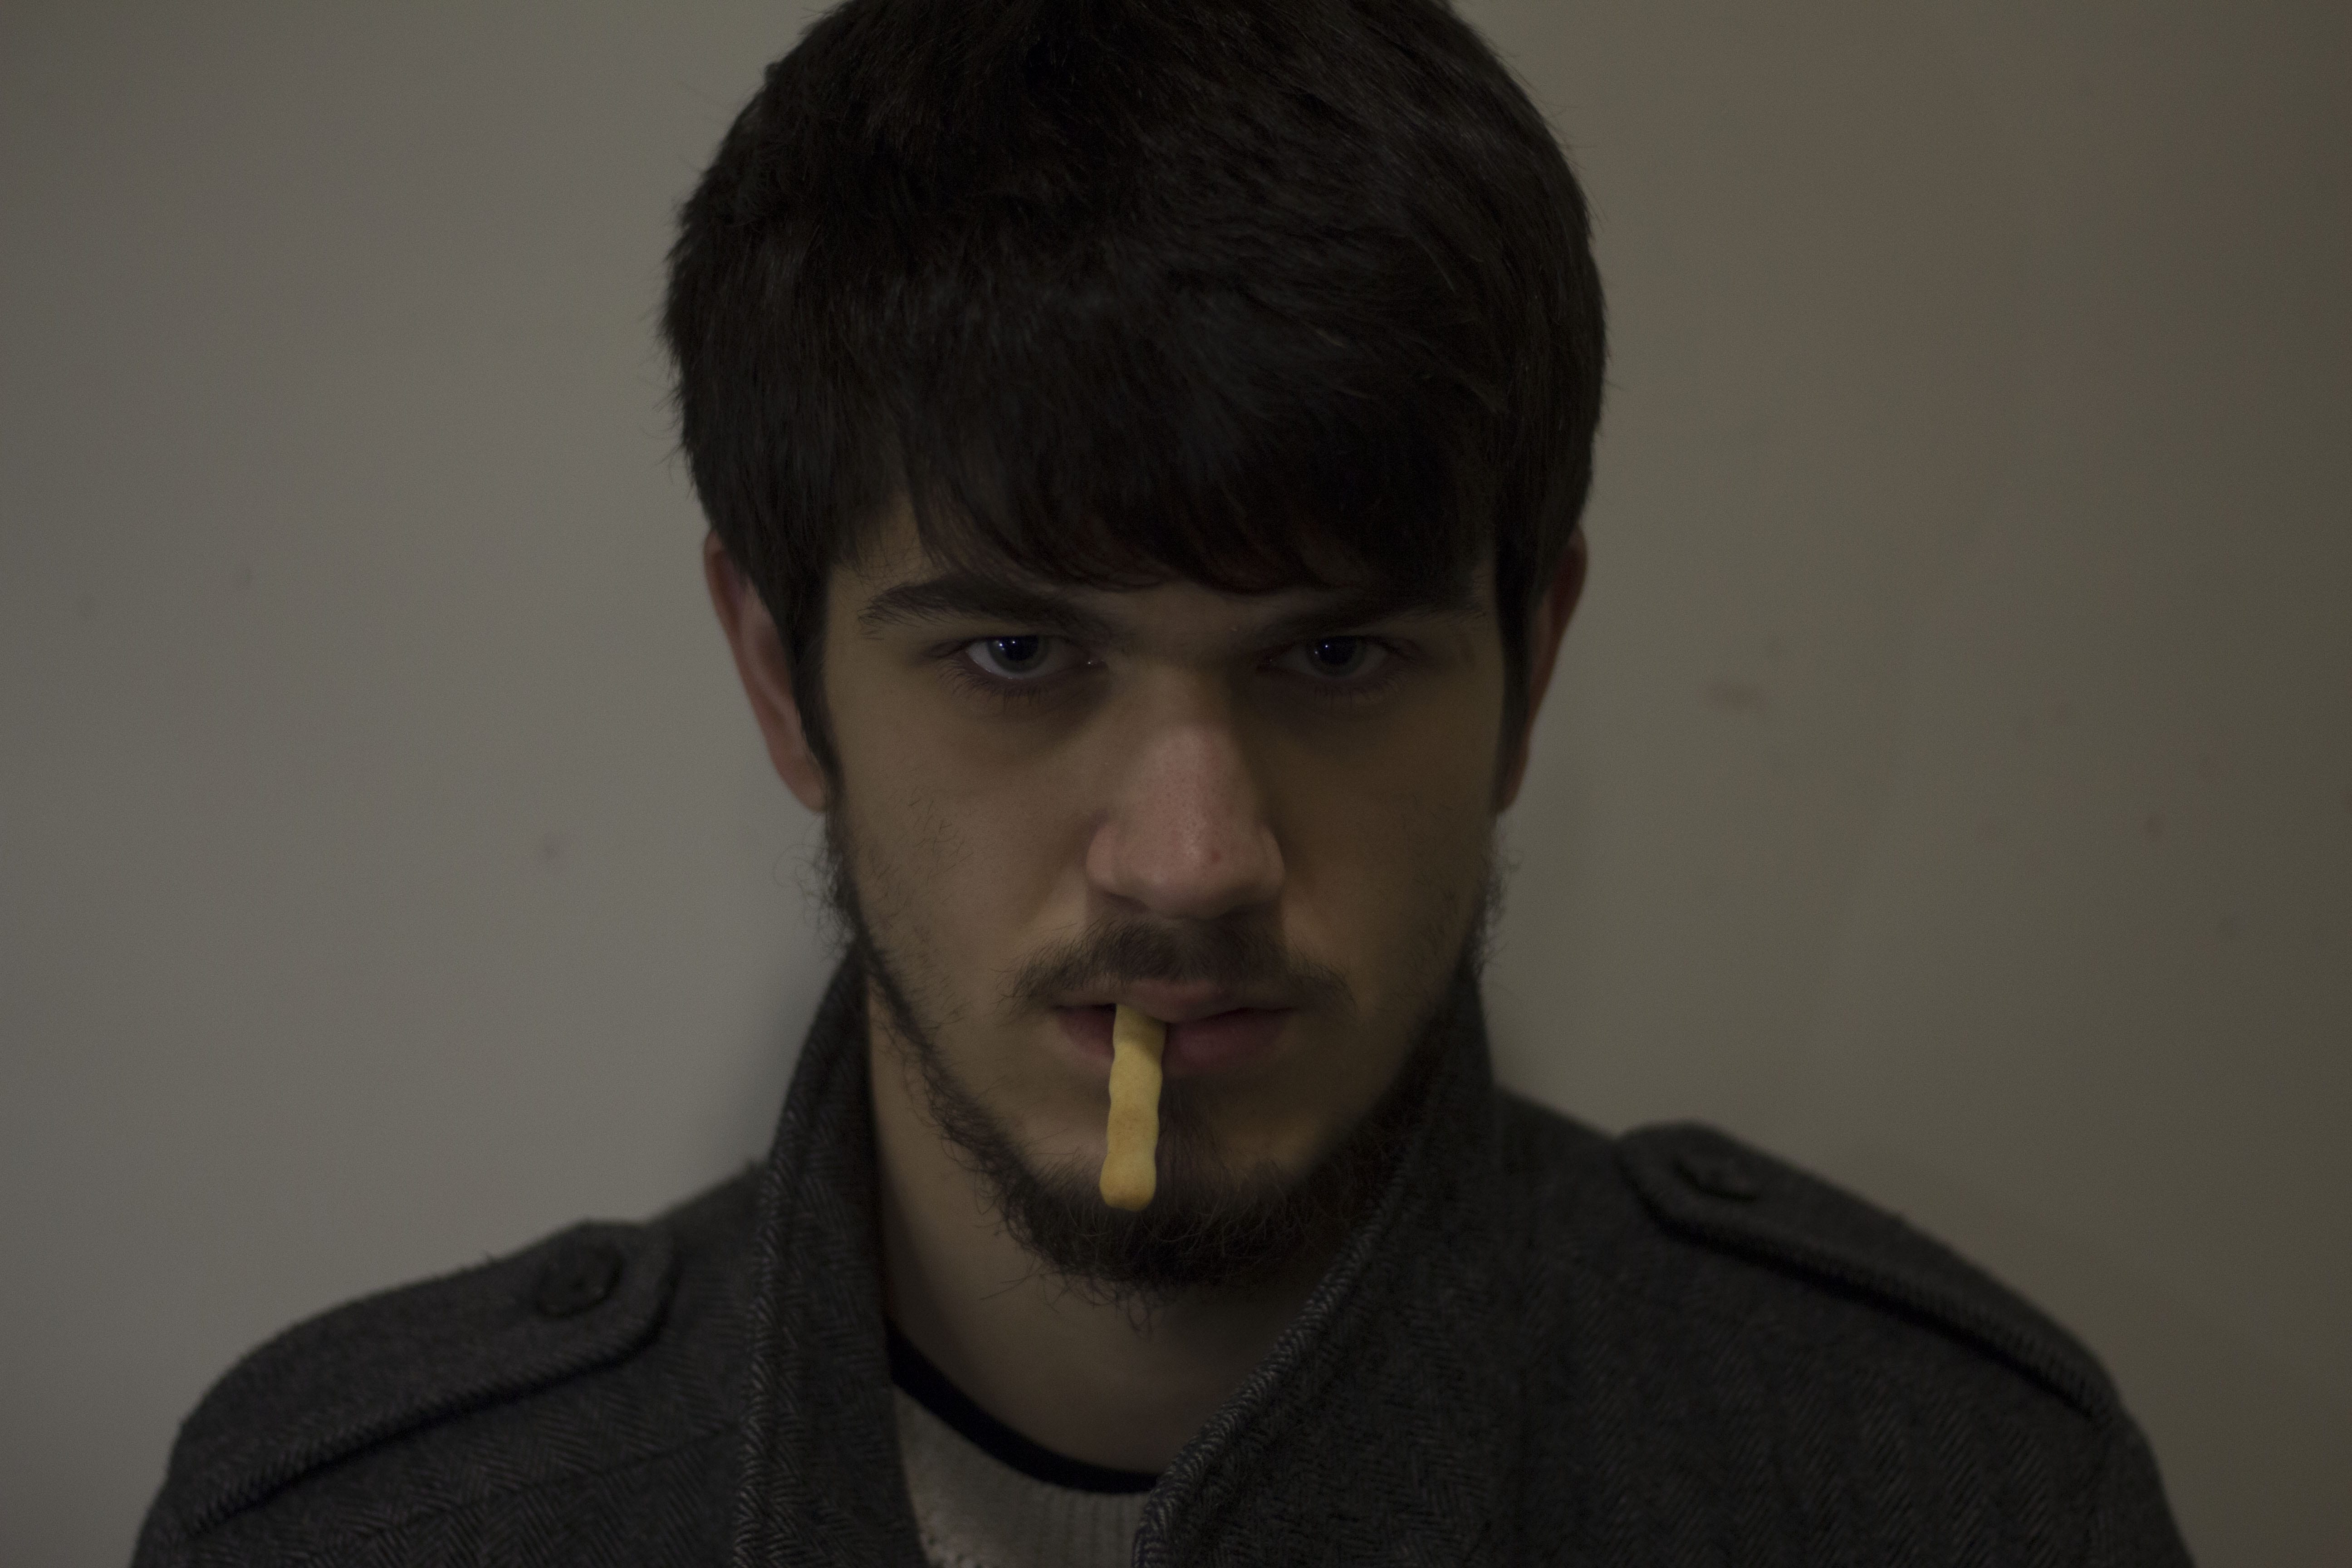
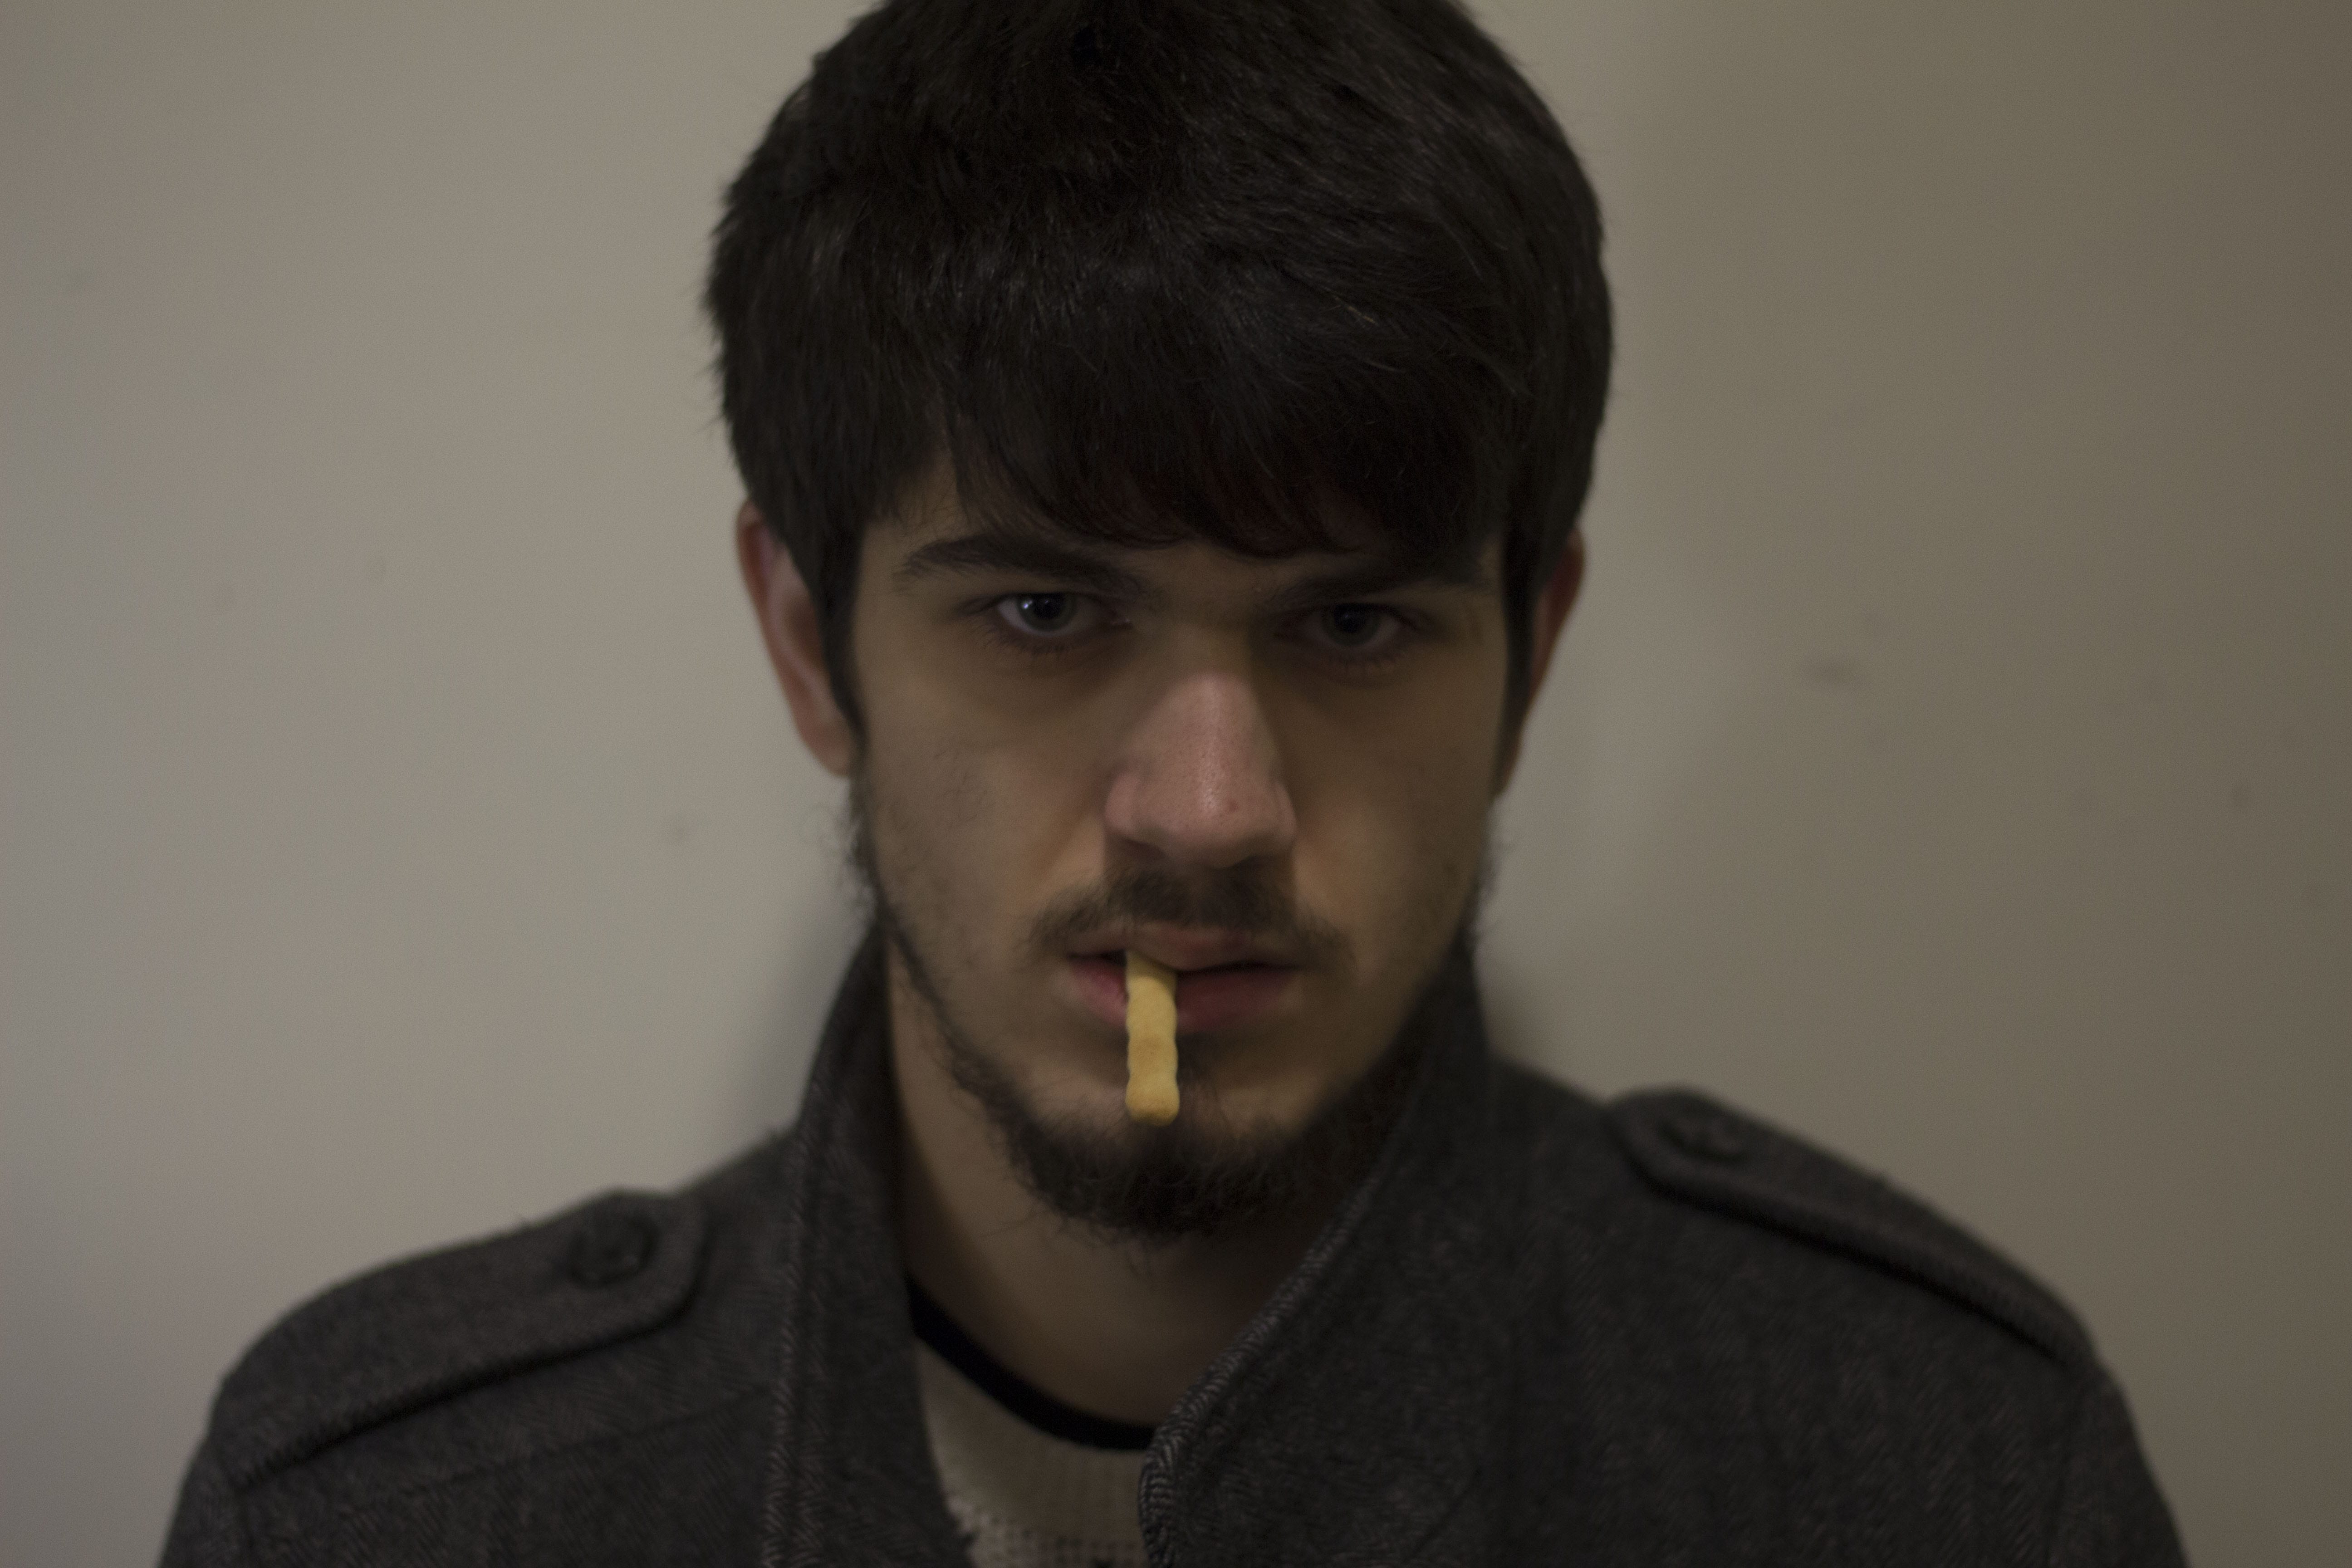
Some of the props and poses of the photographs are quite strange, and the reason for this is that I wanted the subjects to both feel comfortable with a stranger taking their picture, so I let them choose how to pose for the most part.


Edited-13 untitled-5


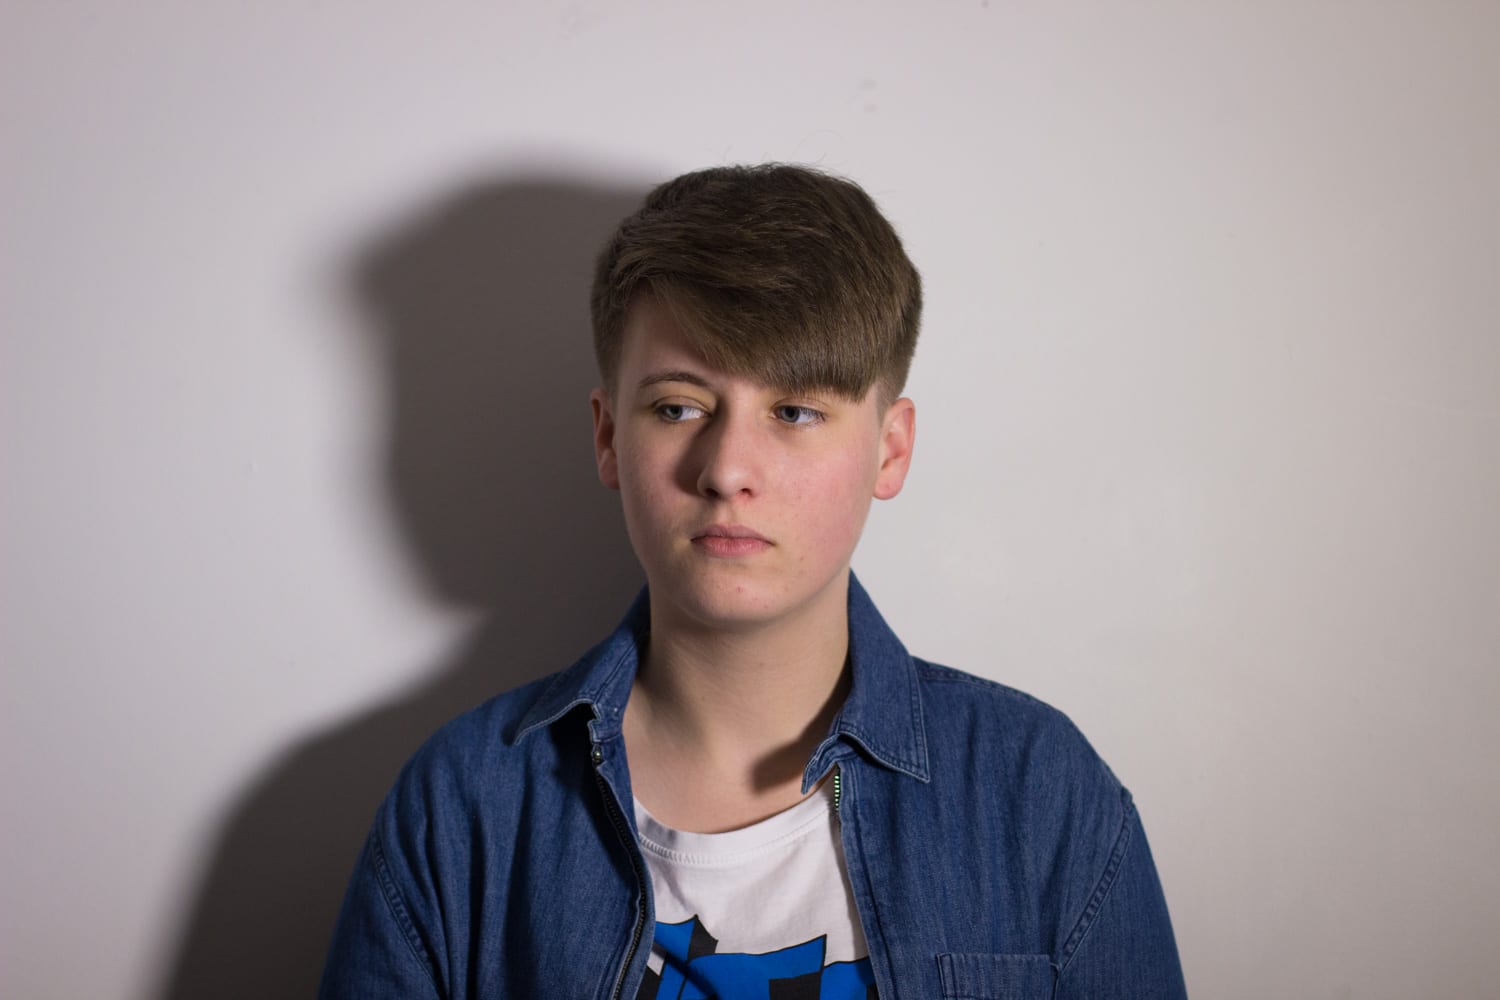
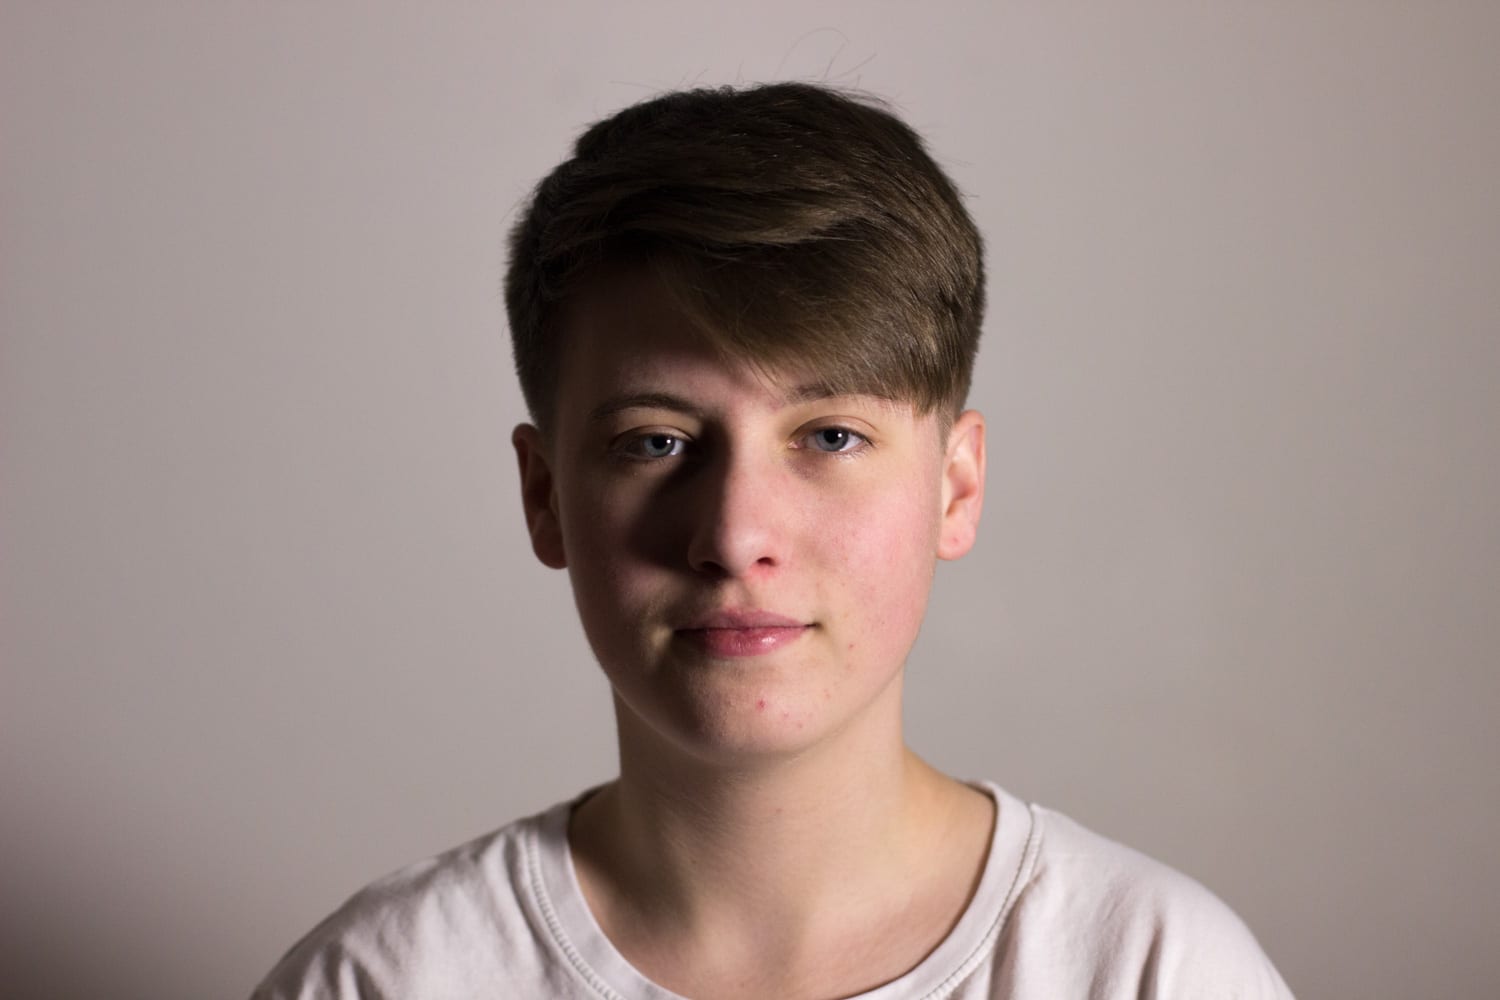
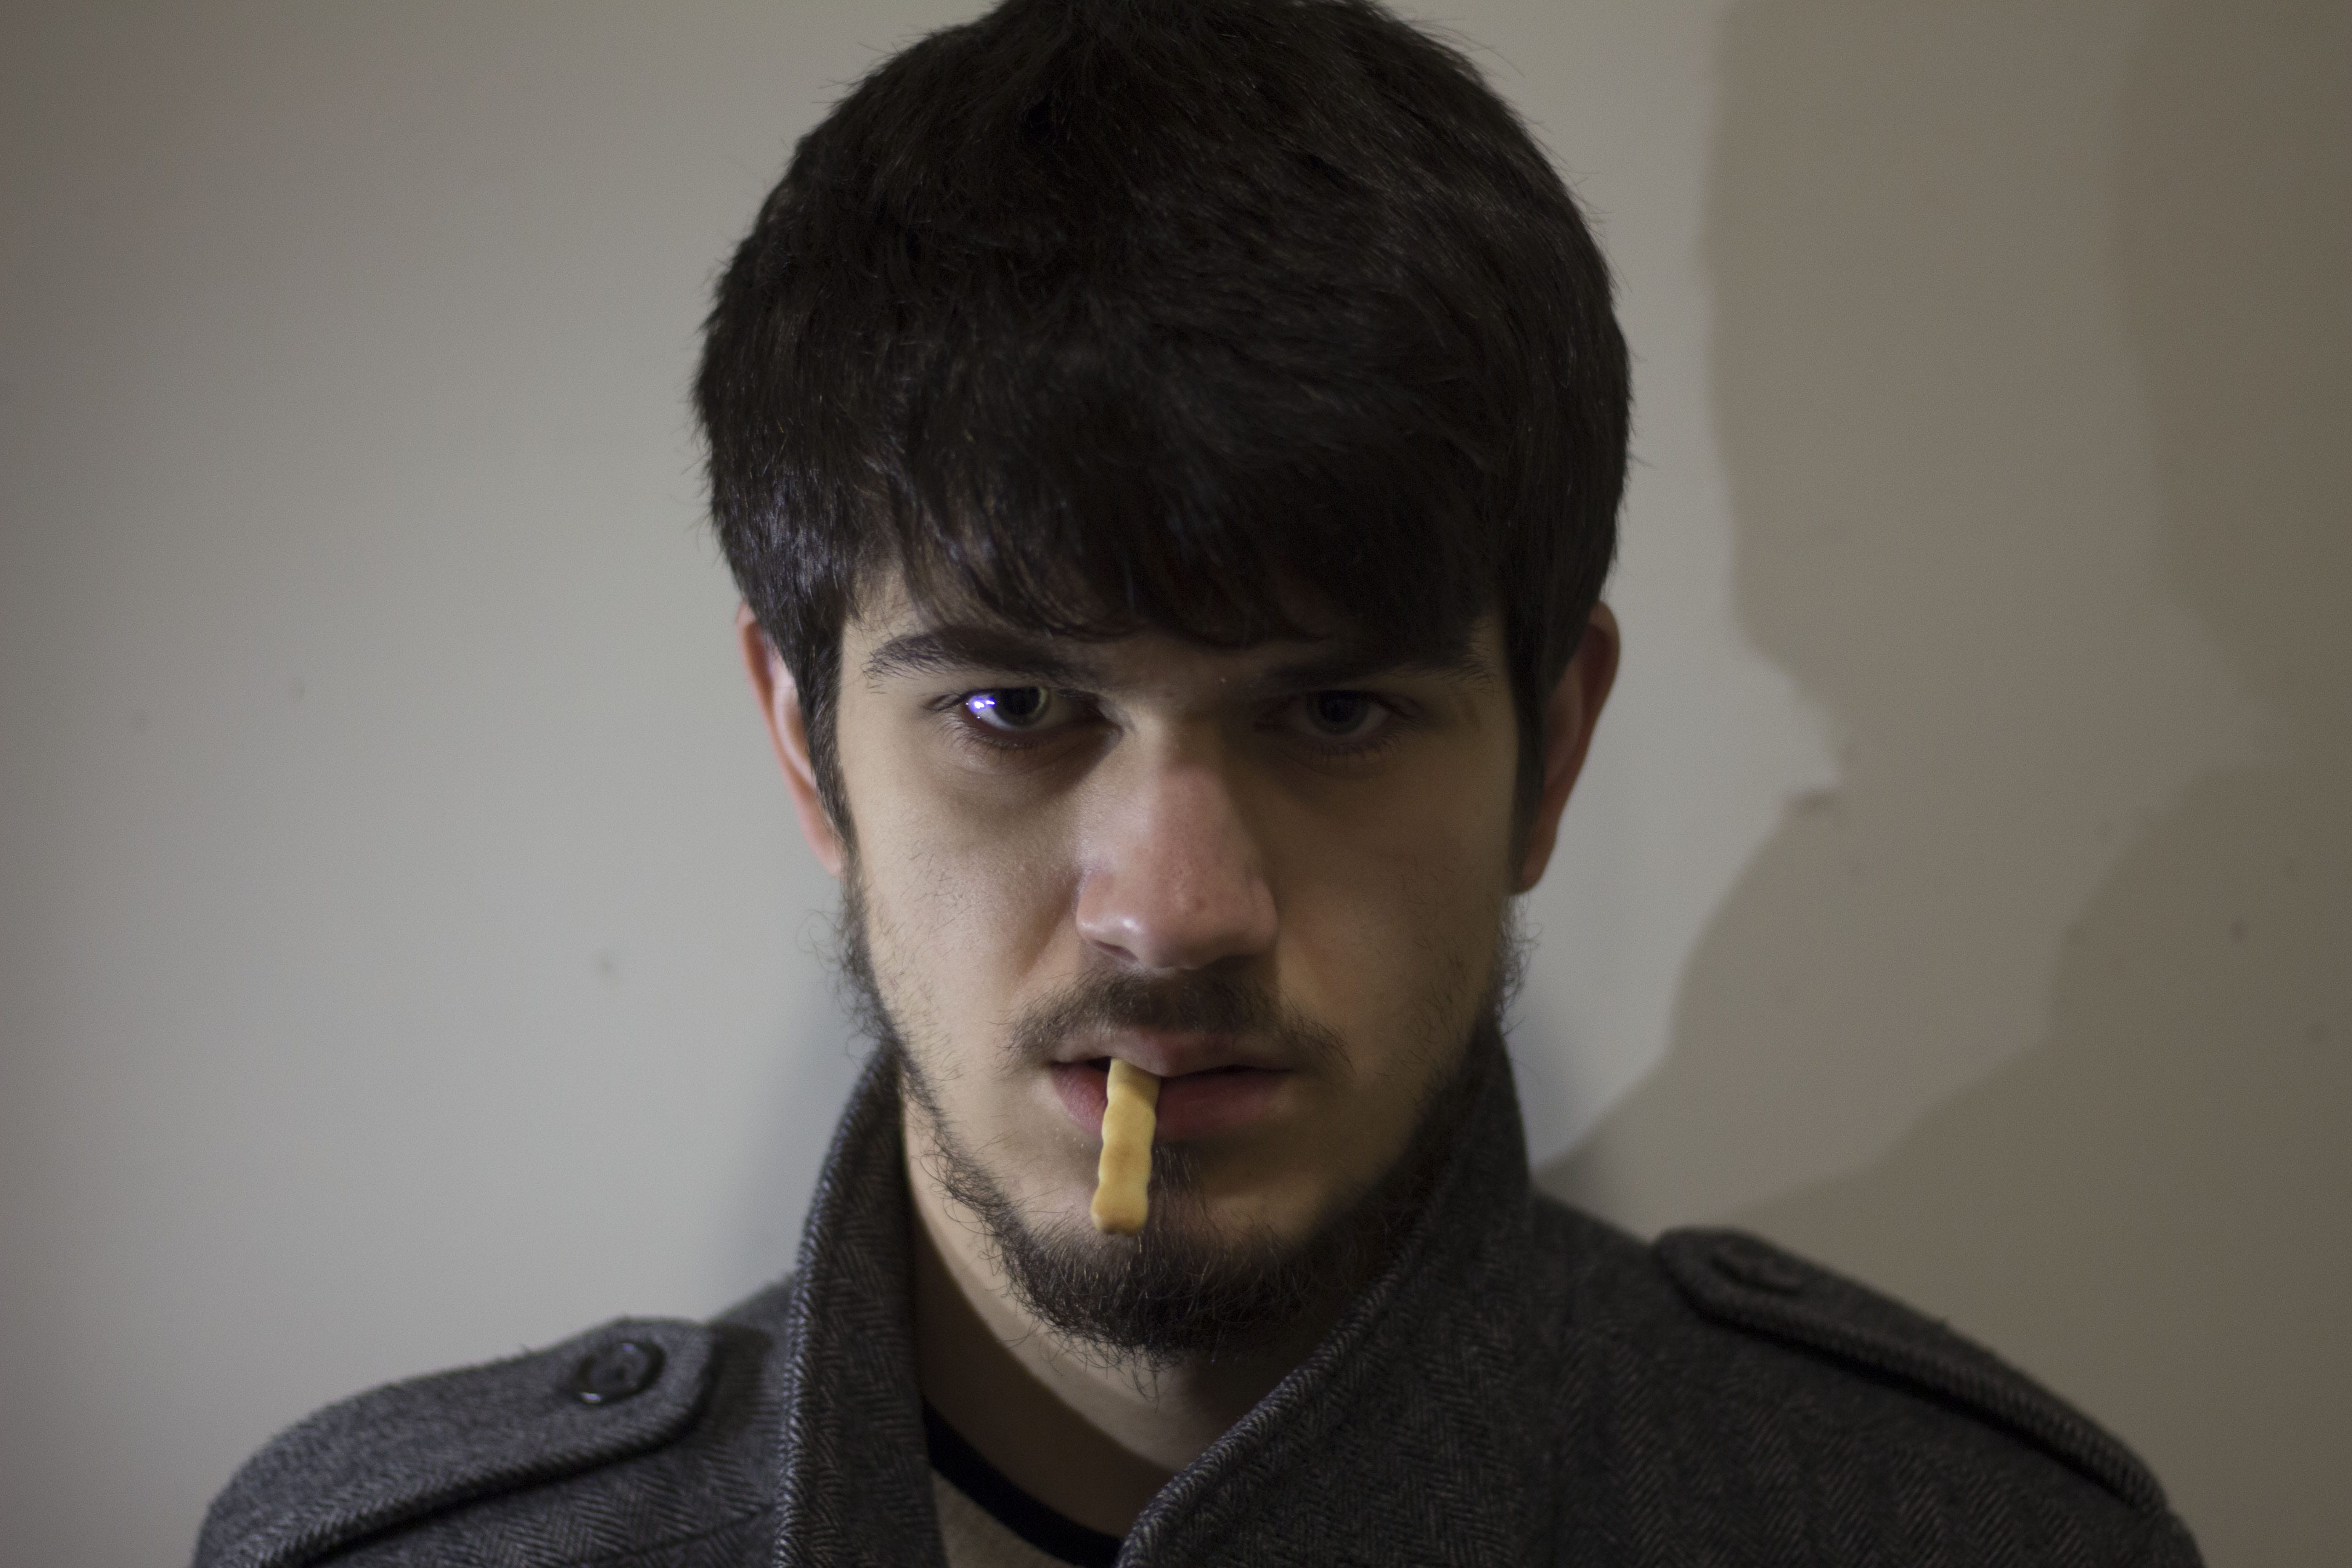
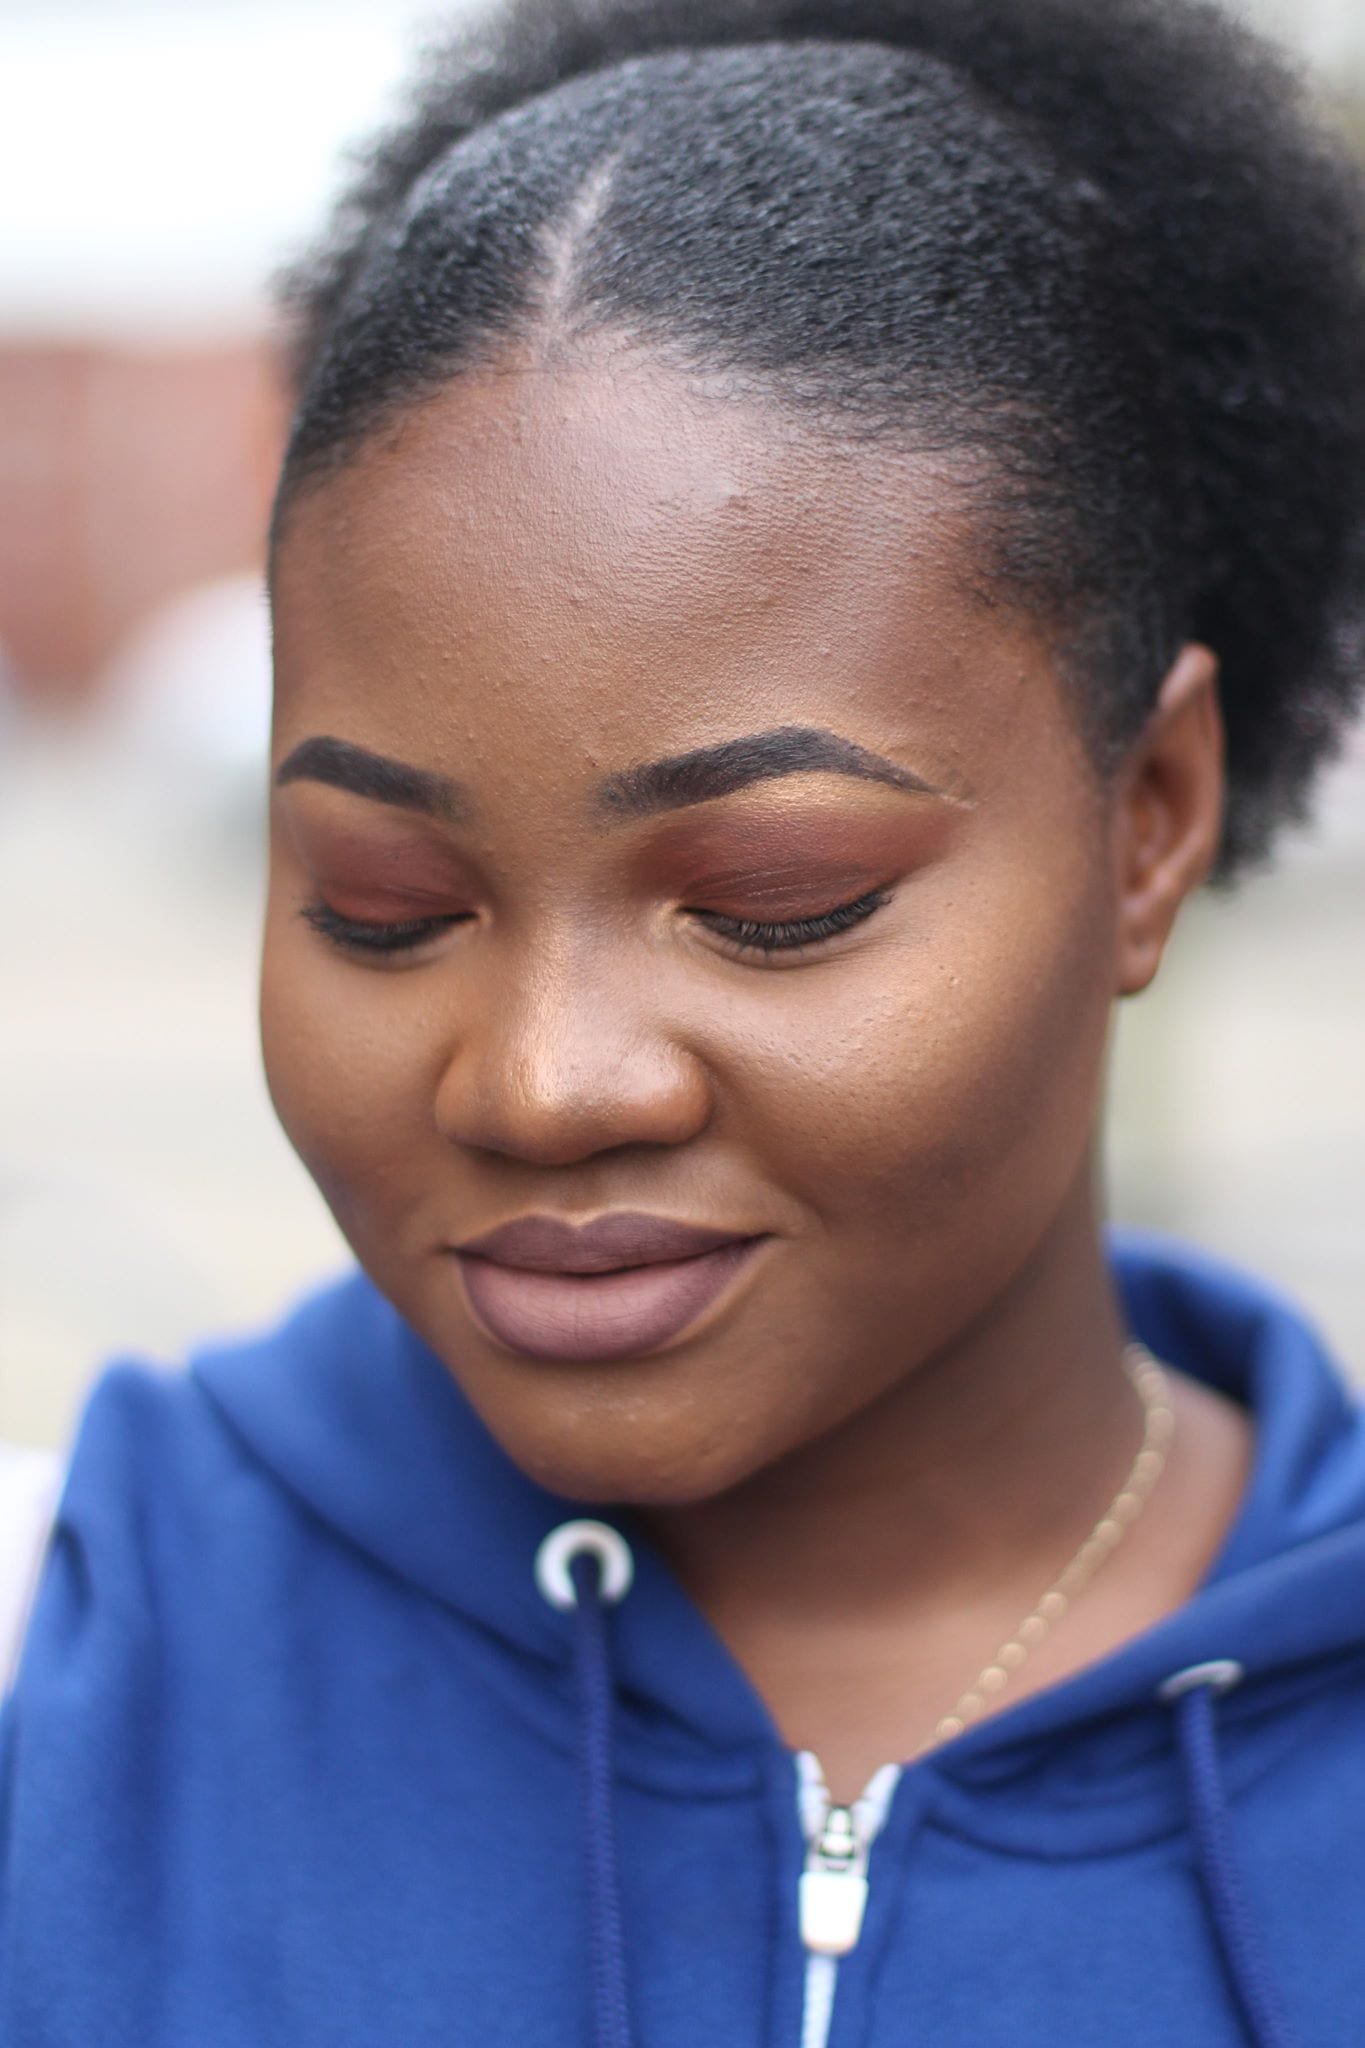
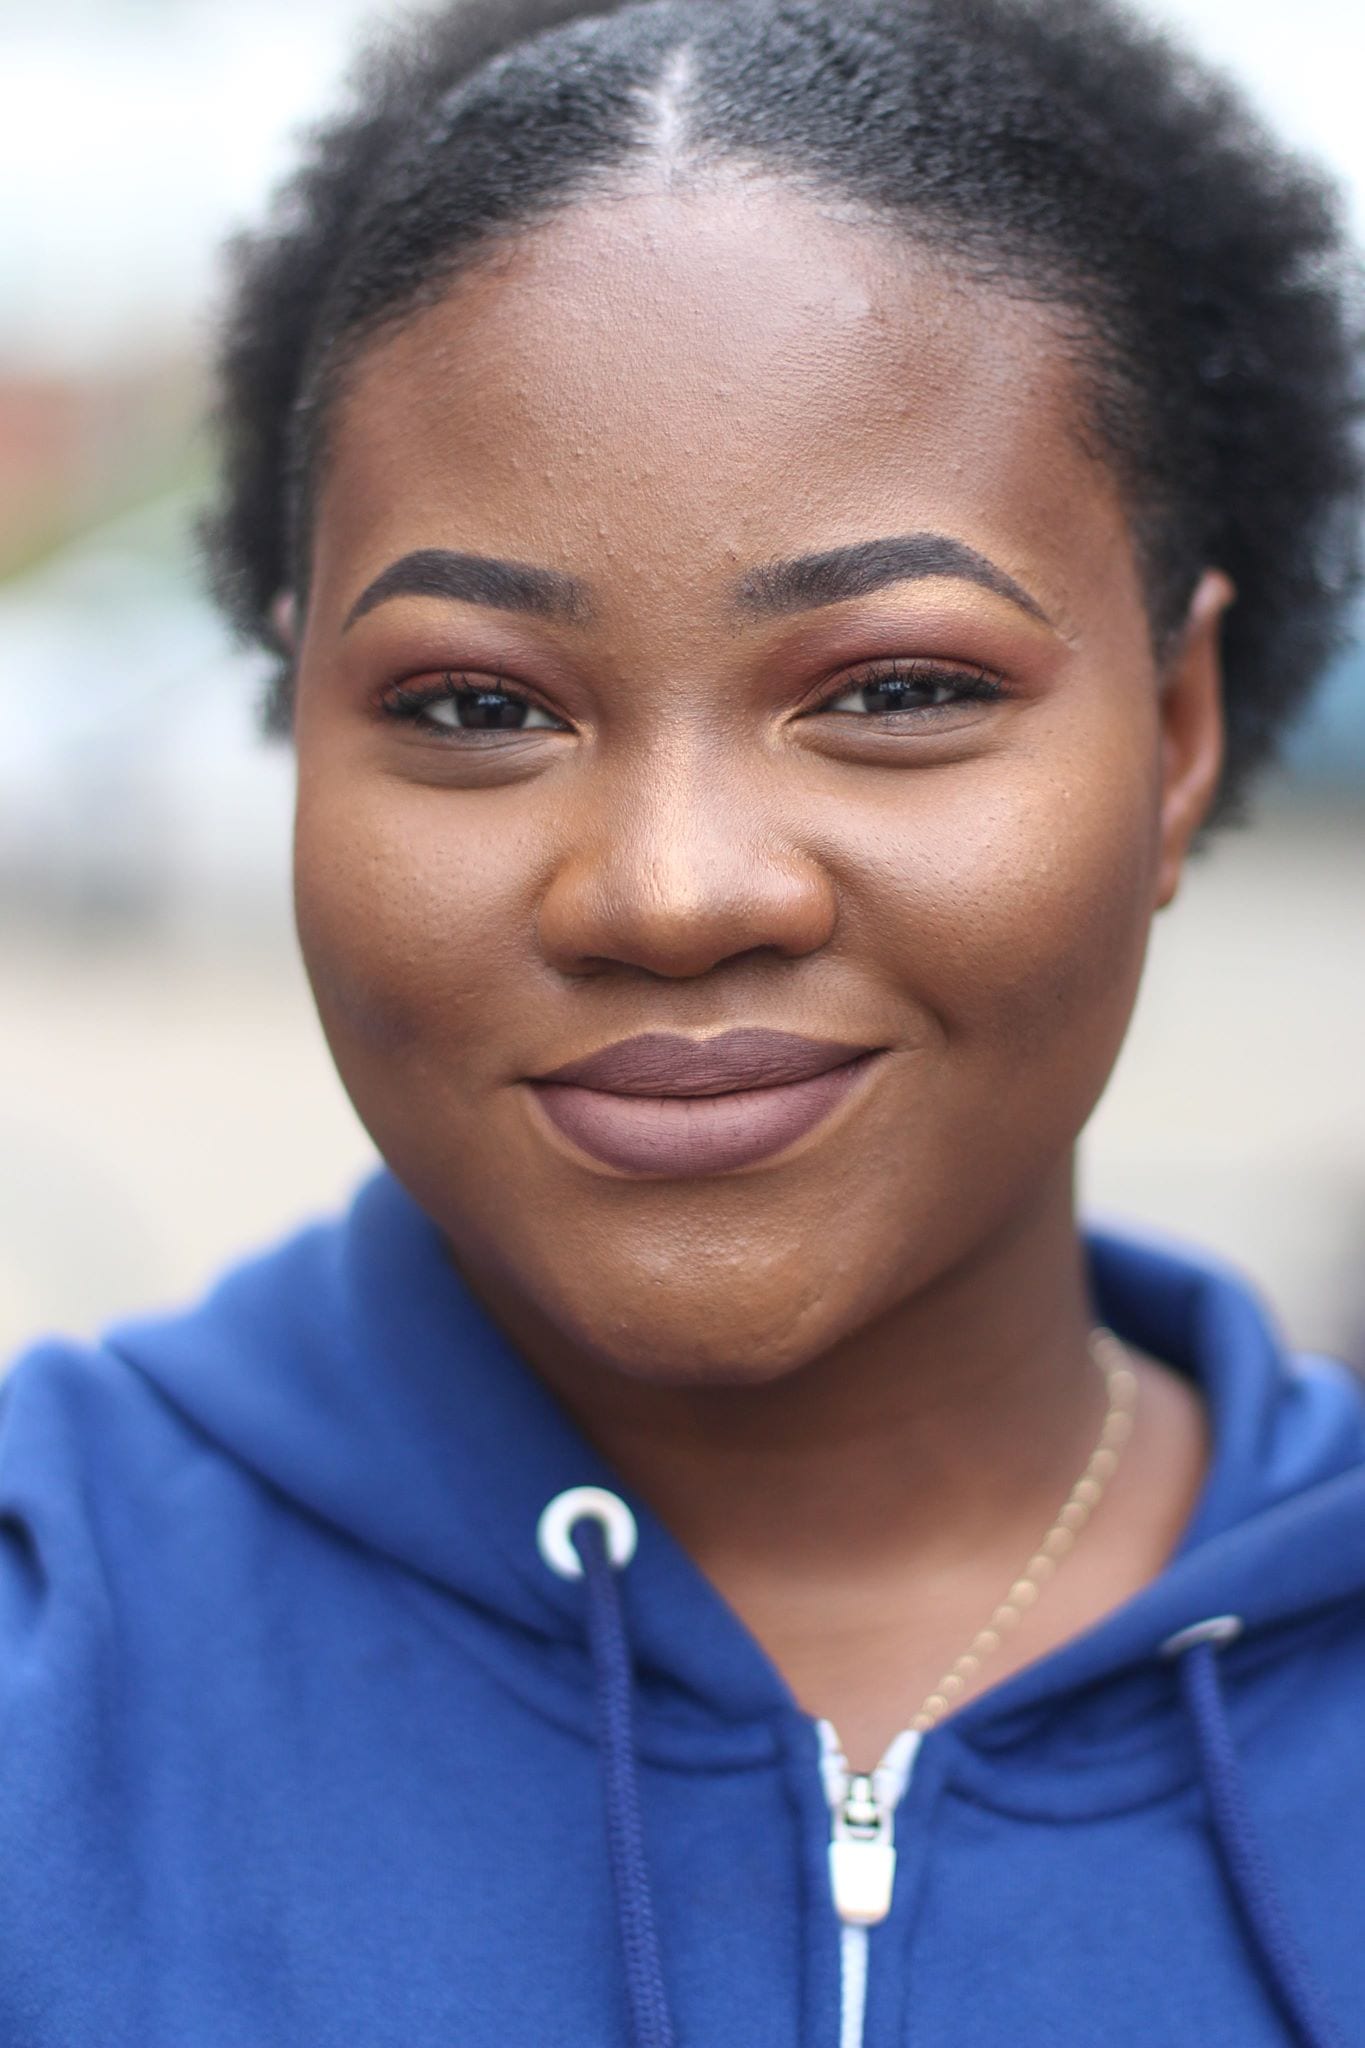
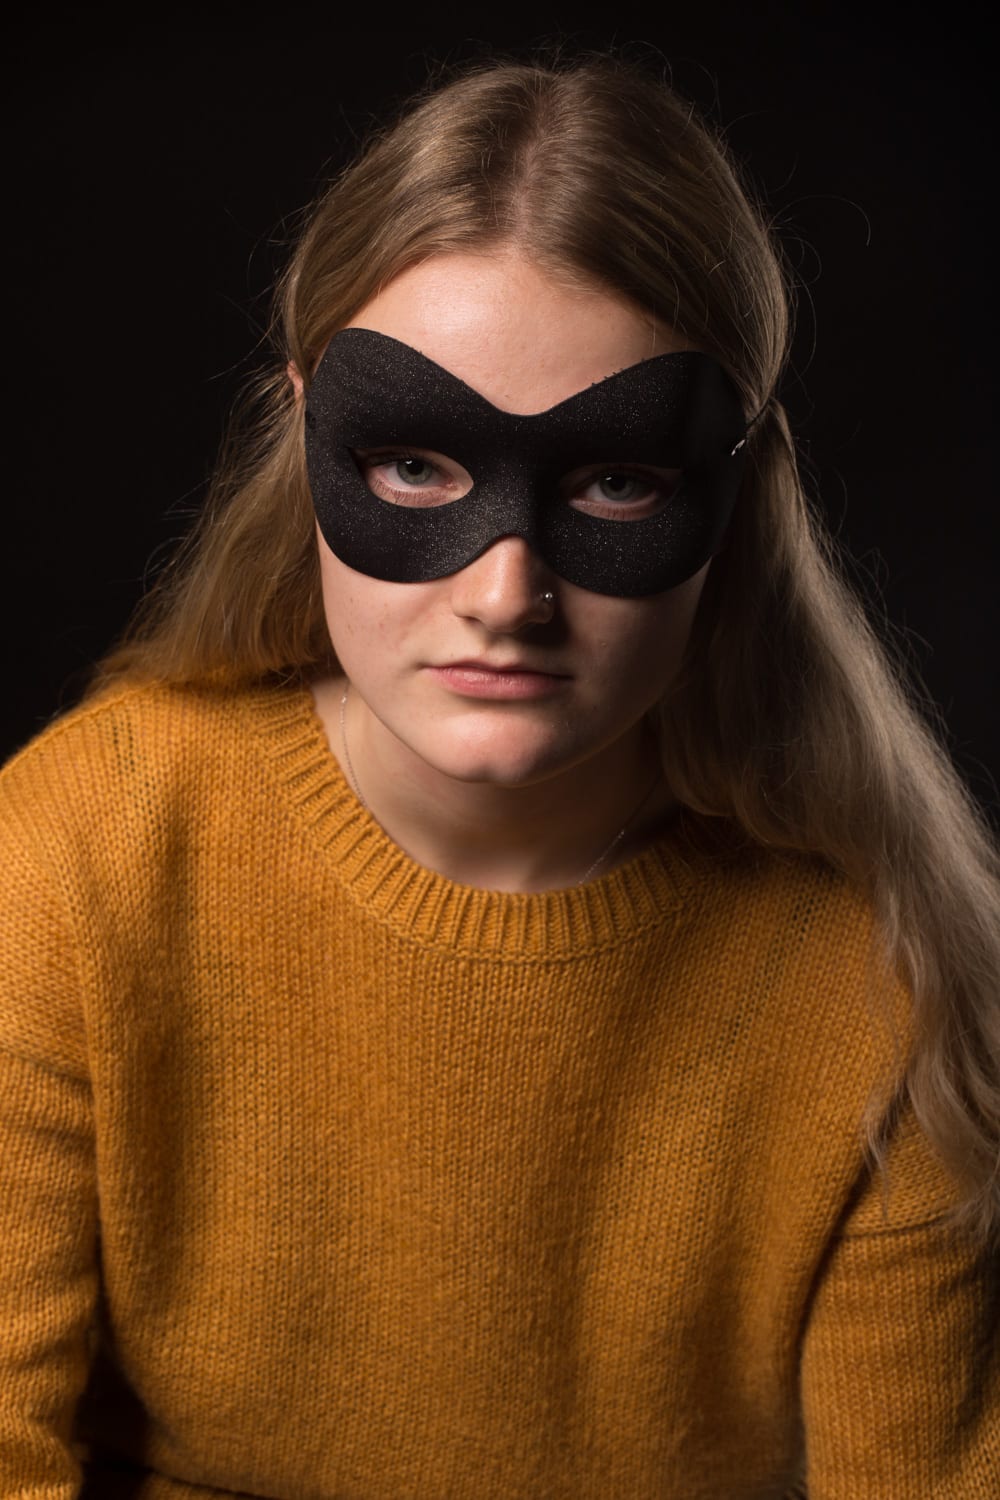
There were a few pictures where I instructed them, and I think they were just as successful as those where the subjects had more freedom. These last two are the ones that I instructed more, and they display more of the Rembrandt lighting technique because I was able to keep the subjects still while I rearranged the lighting.


Edited-17

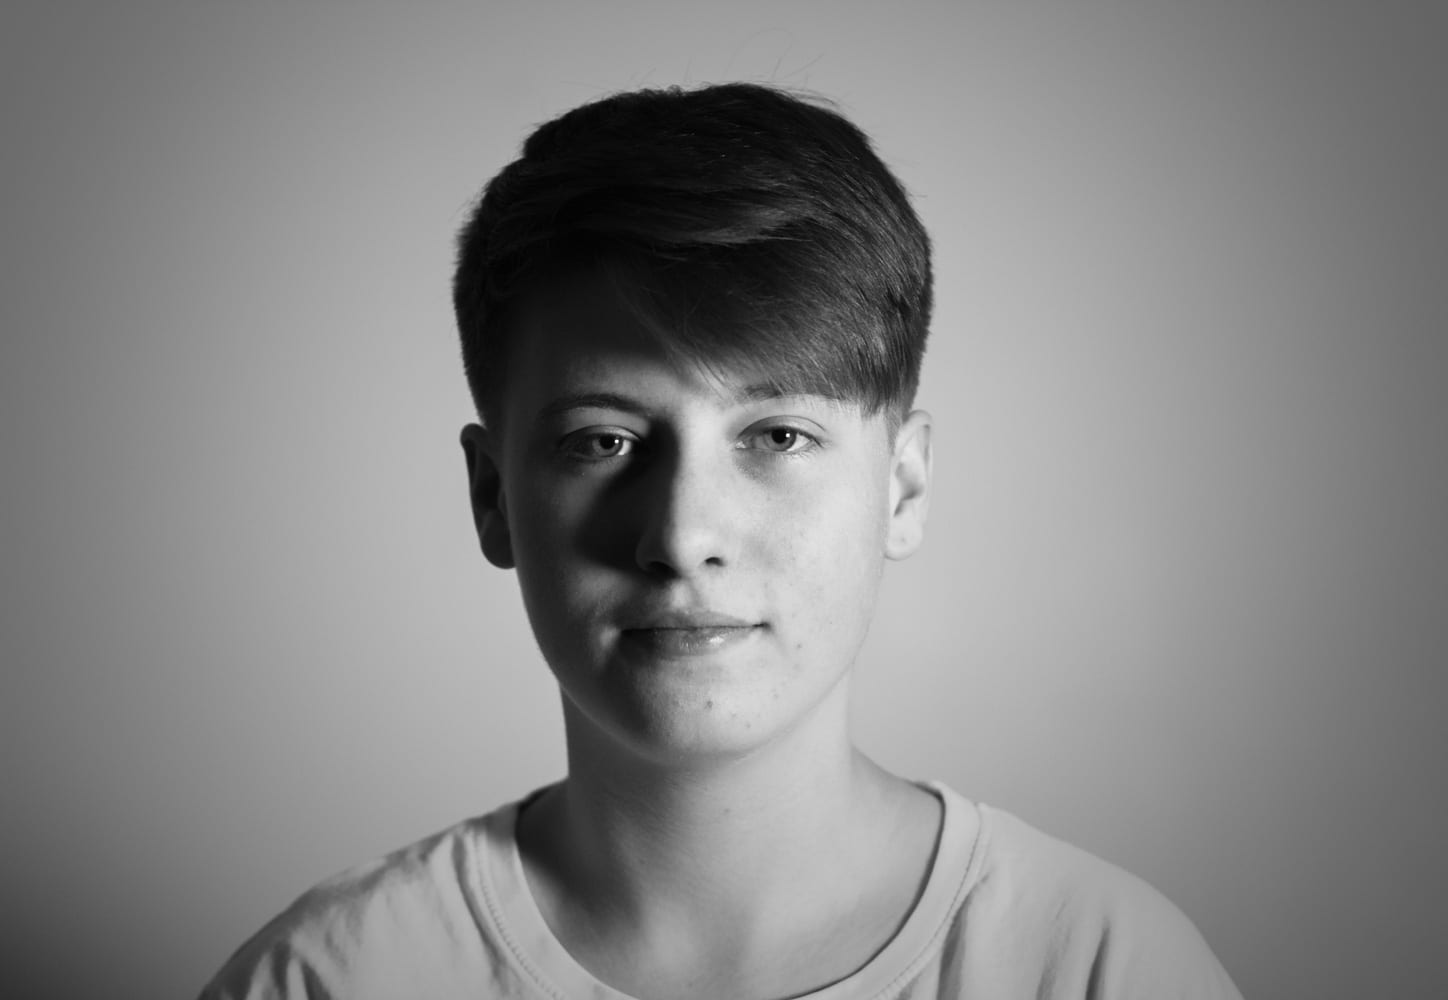
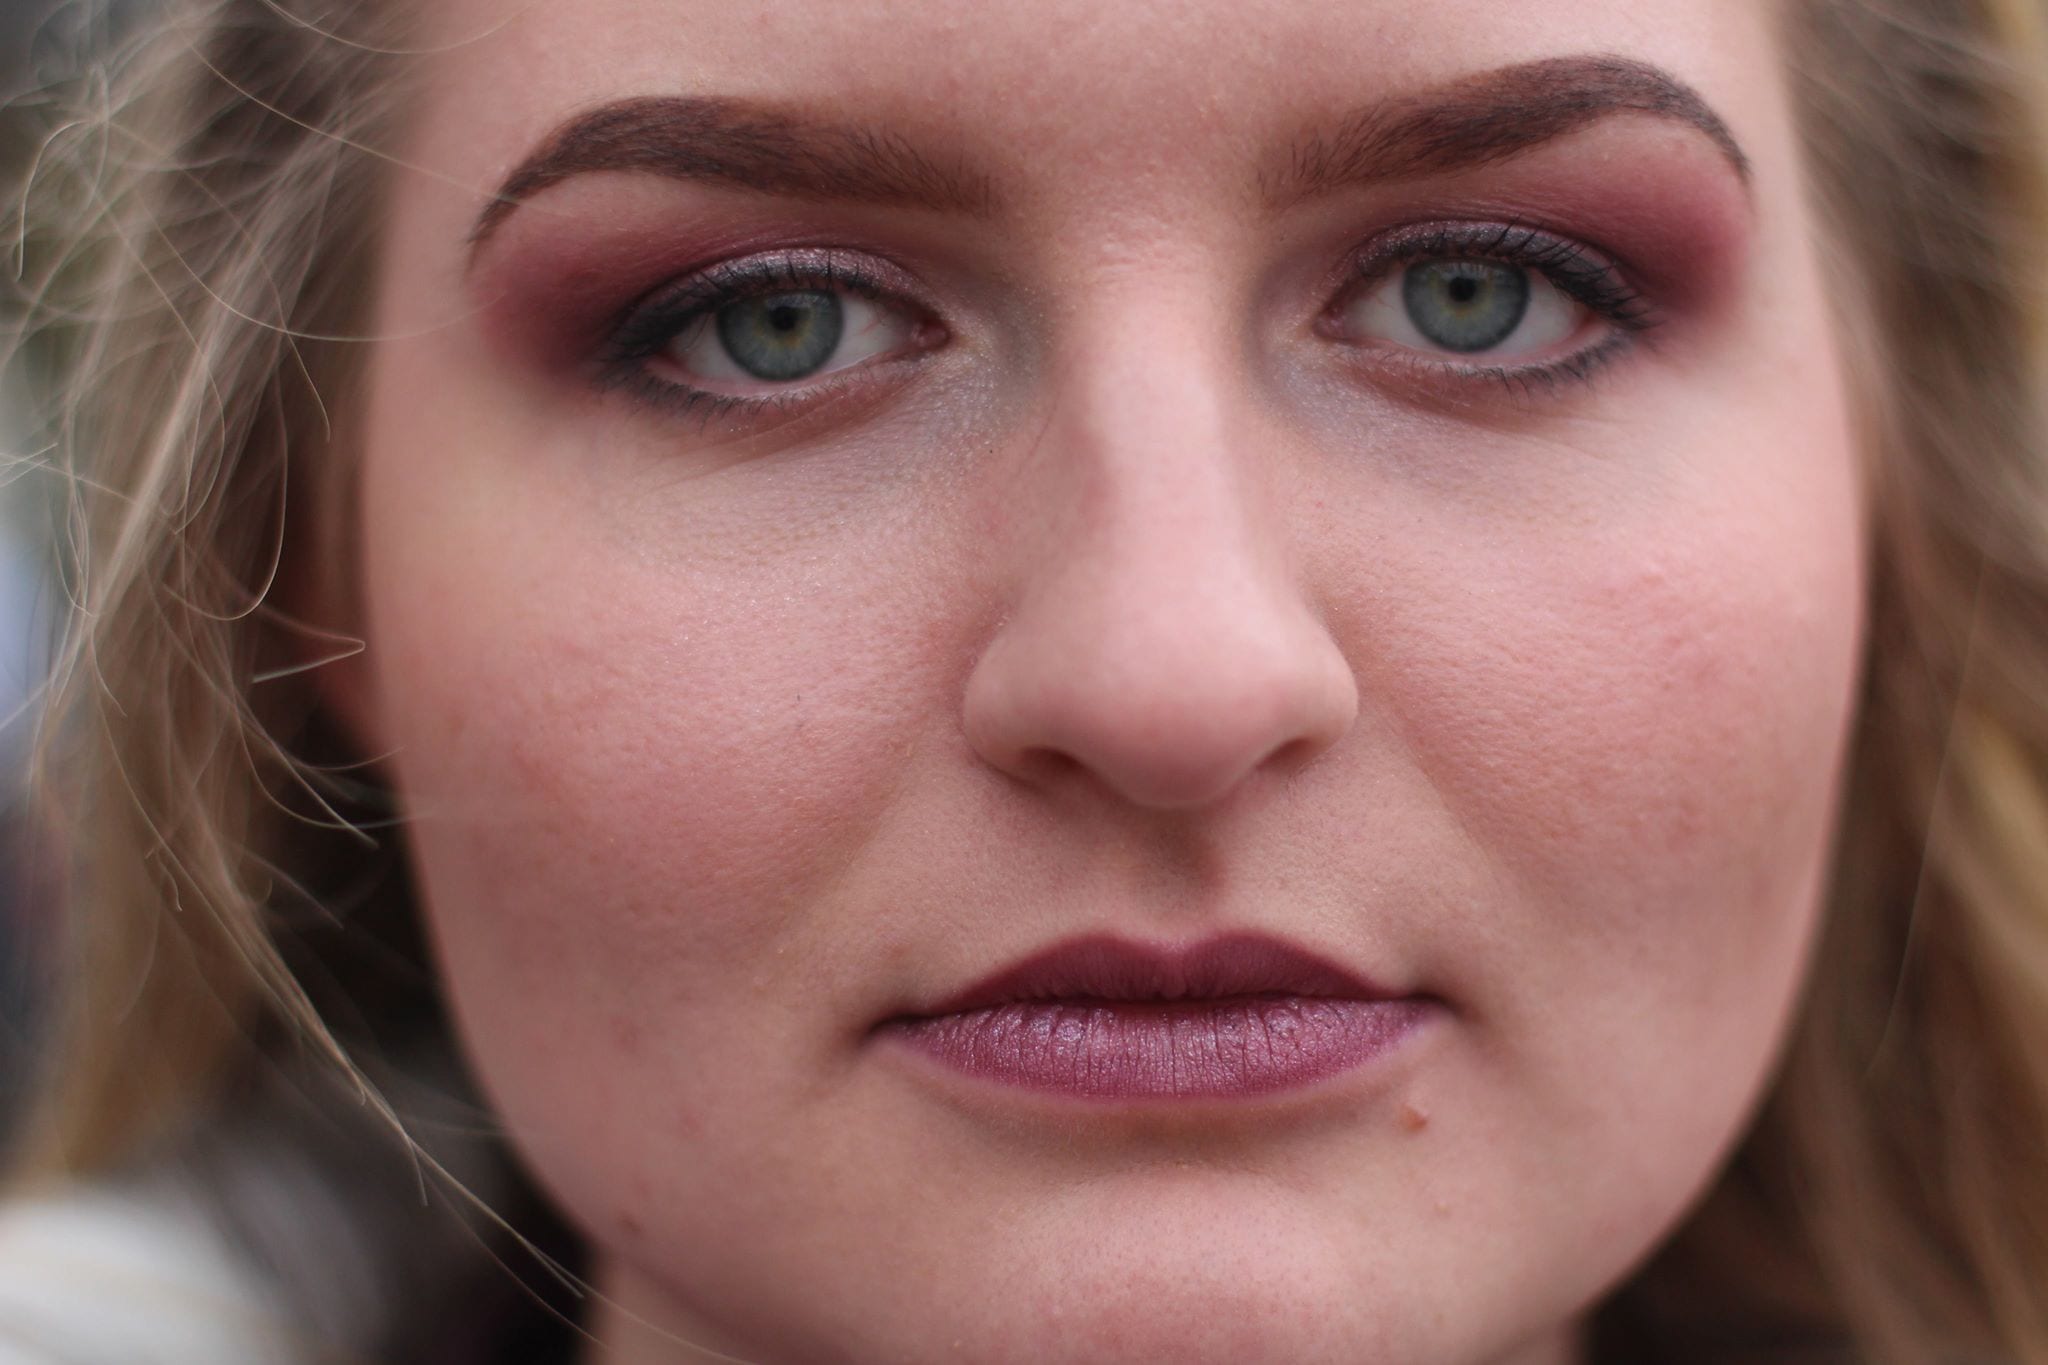
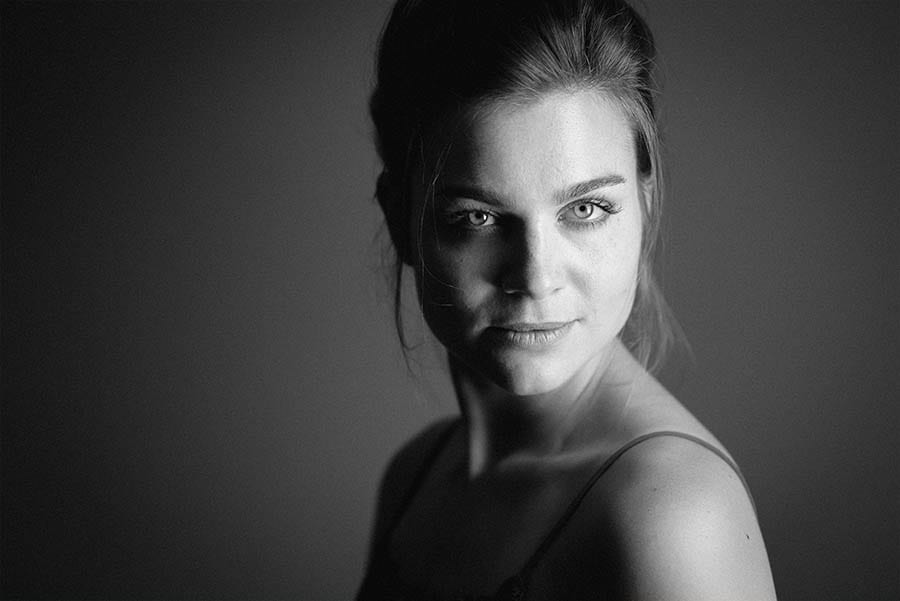
This is my final image of Hannah, and I feel like this is the most technically sound as the focus is on her eyes, she is centered in the frame and there is a small triangle of light on her left cheek, while the rest of that side is mostly shadowed. I also put the image into black and white because from my research, I feel like black and white works really well with this lighting technique.

Portraiture Workshop 2

This week in our workshop, we were given images by photographers and had to try to recreate them. The photographer I was given in my group (with India Hicking and Scott Bentley) was David Bailey. This was the specific image we were trying to recreate:

Screen Shot 2017-12-02 at 15.34.50

The first few images we took were very poor quality. We were not aware of how to accomplish the Rembrandt lighting style so the lighting is really off. Also, to get the photograph with a plain background we ended up taking it in a really badly lit place. These are the first few images we produced:

IMG_3066IMG_3068IMG_3070IMG_3072


The following images are after we asked how to reproduce the lighting technique, and these are all much better. To accomplish the Rembrandt lighting, we positioned the subject near a window and got him to rotate until he only had a small amount of light catching on his right cheek.

IMG_3083 IMG_3081

This is the final image from this week’s workshop:

SCOTT

I think we captured the Rembrandt technique very well here, as there is an almost perfect triangle of light on his right cheek, and the rest of the right side is dark. I also think we replicated Bailey’s image pretty well, although there is much more contrast between light in dark in his photo. I tried increasing the contrast in our image but it didn’t look very good so I left it relatively normal.

Portraiture Workshop

In this weeks workshop, I worked with India Hicking to take some photos of strangers in preparation for our portrait brief. The first images we took were not that great:

23516241_1465684680152504_1869900255_o 23546842_1465684556819183_480486894_o 23547177_1465684363485869_1798725887_o


The first two images are close-ups, and because we found it quite nerve-wracking we took these very quickly and consequently the focus is slightly out. If the focus wasn’t out, I would’ve really liked them. The third image was taken and we were under the impression that the aperture was quite low (around 2) but the depth of field isn’t as shallow as we would’ve liked so we changed this later on. So overall I liked the framing of these three images but because we rushed they aren’t as technically sound as I would like them to be.

I absolutely love these next images:

23516263_1465684793485826_314536486_o 23546967_1465685053485800_1301450144_o 23557796_1465685223485783_1142041643_o 23484841_1465684933485812_357773247_o

I think my favourites of these images are the last two, the girl was quite shy at first but opened up and became more confident and I think this makes for a better image. The focus is also much better on this set of images compared to the last ones, although it still might be a tiny bit out as I think they are all focused more on her nose than her eyes.

This week I will be going out and taking images of strangers off campus.

#ULImagesInTheWild

Screen Shot 2017-09-29 at 16.12.13

This is my favourite image from the ones that I took. It is taken from the Revolution bar’s promotional poster that says I <3 Vodka. The reason I picked this image as my favourite because I really like the colour scheme and the simplicity of it. I like how the main subject is central to the frame and is mostly straight. I think it’s a good example of appropriation because if I had not said, then it would not be obvious that this was part of Revolutions promotional poster, as it stands well on its own as a piece of digital artwork.

If I were to try and take this picture again, I would try to get it so that the light was not shining directly on it, to get rid of the lighter part at the bottom right. I could also probably fix this in Photoshop but that’s not part of this project.

Screen Shot 2017-10-03 at 14.03.28

This image was posted by user:katherinechisham. The reason that I like this image is because I think the colours are very aesthetically pleasing, the main colour of red is very well complimented by the subtle orange and pink tones as they are all complimentary colours. I also like that you can see the reflection of buildings in the image, and even the top of someone’s head, as it is a subtle reminder that this project is about using other people’s images and appropriating them to create something your own.